Quick start
Get your first result out of CamClo AI in minutes, and learn which tool to reach for next.
CamClo AI turns a single product or garment photo into finished visual content. There are two studios: the AI Suite for on-model imagery, edits, and short video, and Ad Studio for ready-to-run ad creatives with copy. This page walks you from sign-in to your first generation, then points you to the right tool for what you want to make.
At a glance
- You need
- A clear product or garment photo (JPG, PNG, or WebP)
- Two studios
- AI Suite (imagery + video) and Ad Studio (ad creatives)
- How it is paid
- Credits, deducted per generation
- First result
- In a few minutes, no photoshoot required
- Free plan
- Watermarked output and lower limits; paid plans lift both
Everything runs on the same account and the same credit balance. Switch between the AI Suite and Ad Studio from the main navigation whenever you like.
Your first generation
- 1
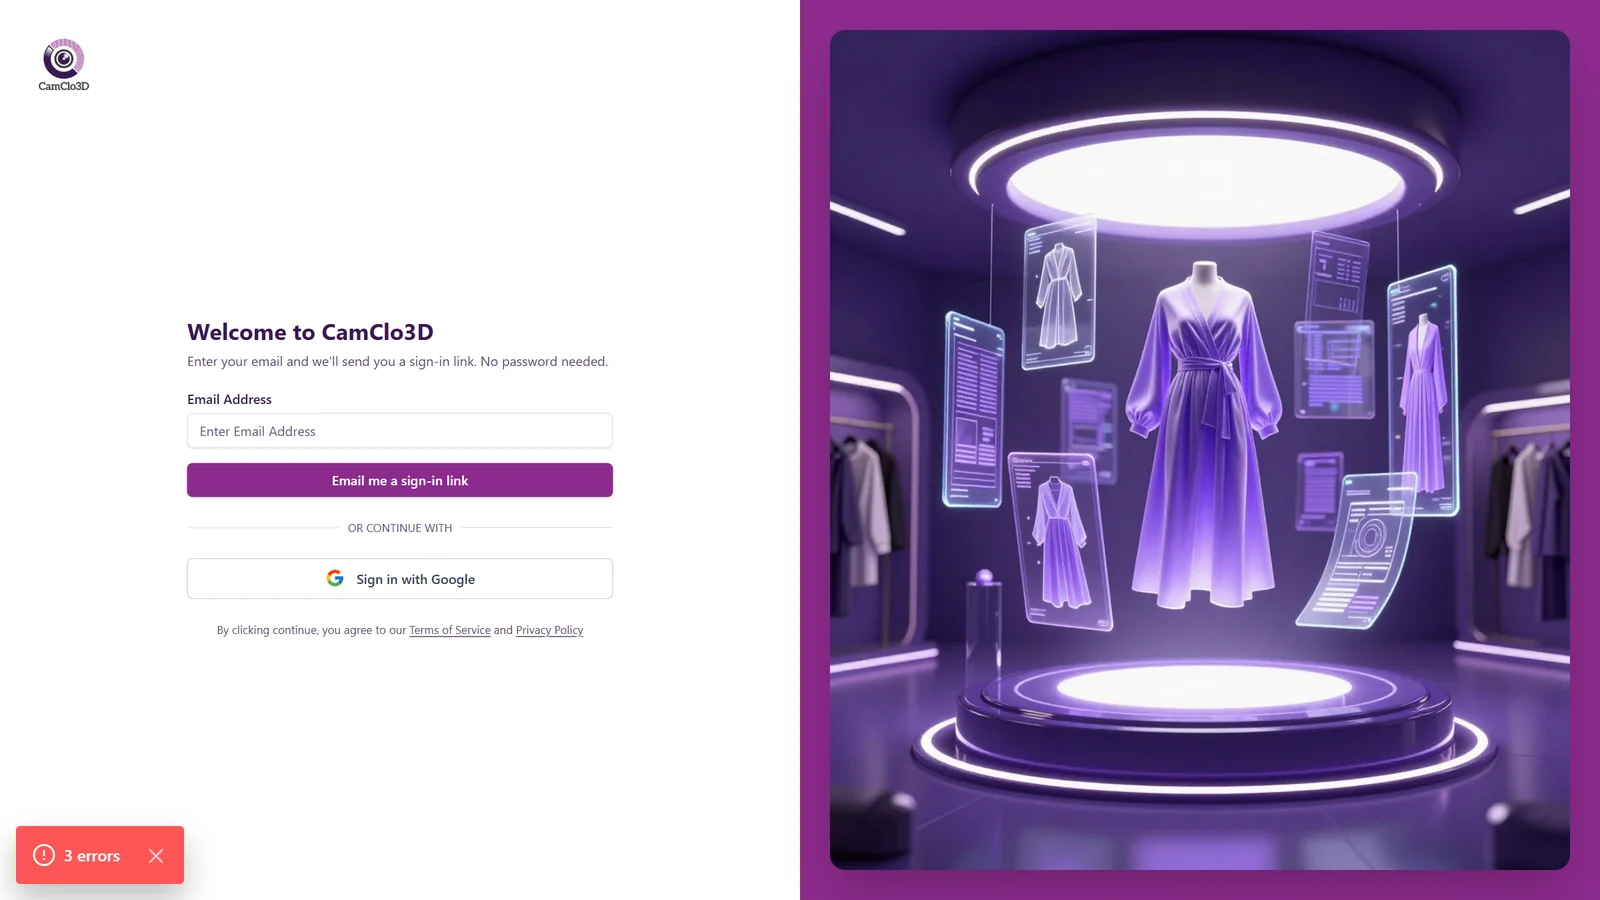
Sign in
Log in to your CamClo AI account. New accounts can start a 7-day free trial of Creator or Studio, with 20 credits to try every tool.
- 2
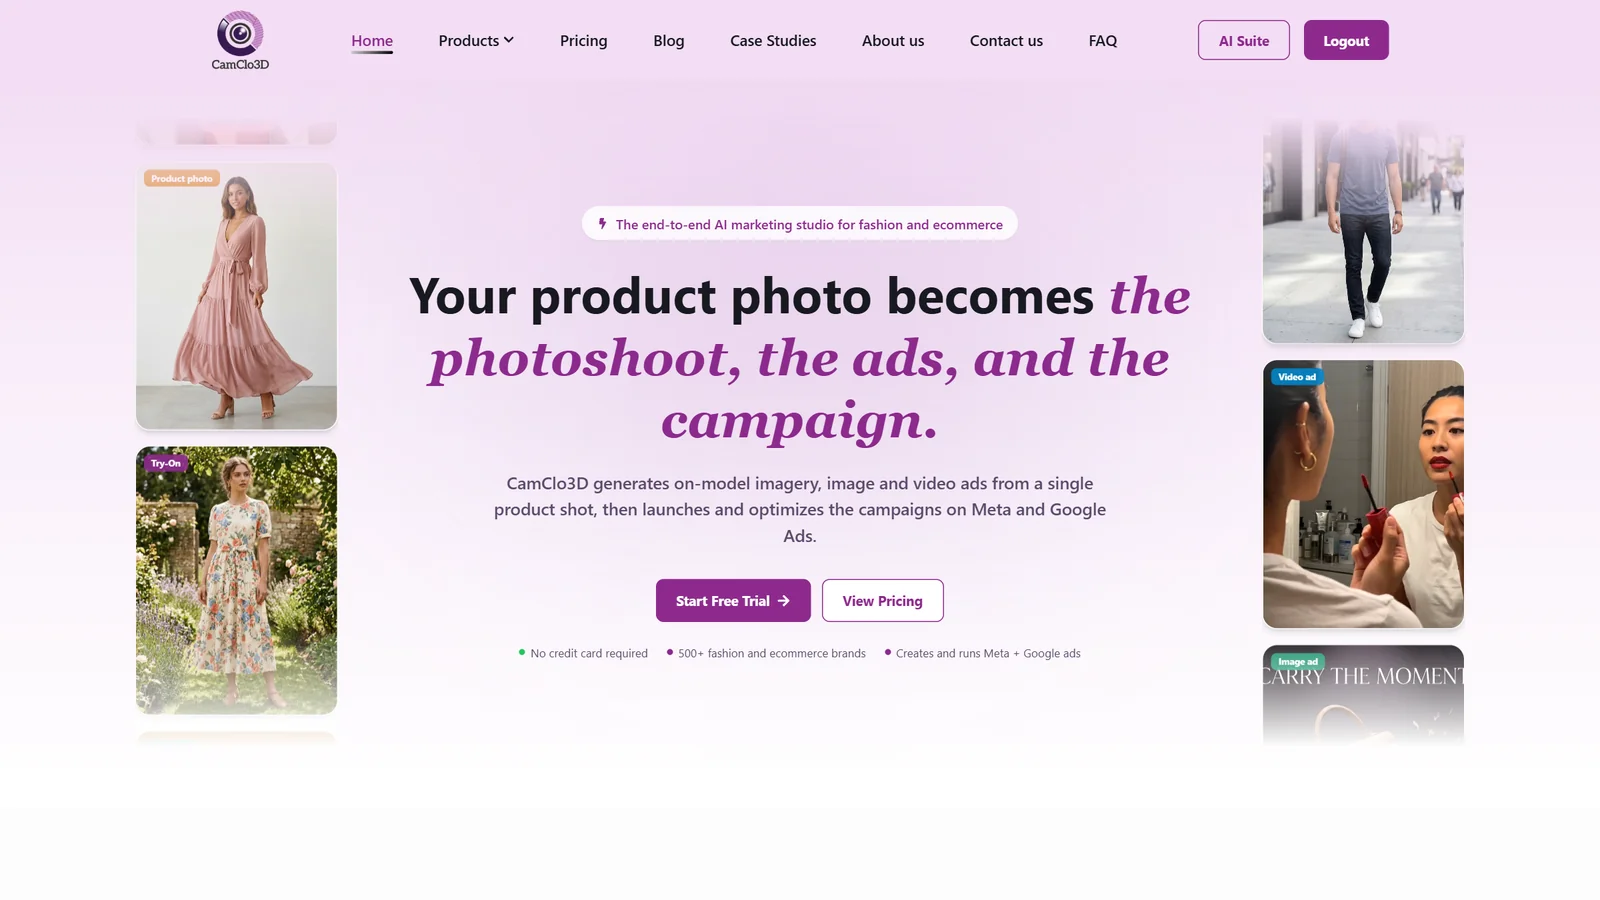
Pick a studio
Open the AI Suite for on-model photos, edits, and video, or open Ad Studio to make finished ad creatives. See the comparison below if you are unsure.
- 3
Upload your image
Drag and drop or Browse Files to add your garment or product photo. Use a clear, well-lit, high-resolution shot and wait for the upload to finish before you generate.
- 4
Set your options
Each tool has its own settings, such as the model in Virtual Try-On or the goal and aspect ratio in Image Ads. Defaults are sensible, so you can leave most of them alone at first.
- 5
Generate
The Generate button shows the exact credit cost before you spend anything. Click it and you are taken to a results page while your image or video renders.
- 6
Download or take it further
Preview the result, download it, and find it later in your generations history. From there you can refine, animate, or turn it into an ad. See What to do next.
Which studio should I use?
Reach for the AI Suite when you want the raw visual: an on-model photo, an edit, or a short clip. Reach for Ad Studio when you want a finished ad, complete with the caption and headline written for you. Many people start in the AI Suite to create the shot, then move to Ad Studio to package it.
A quick comparison of the two studios and their headline tools:
AI Suite
Imagery + videoCreating on-model shots, edits, and short motion clips from your photos.
- Virtual Try-On: dress a model in your garment (from 2 credits)
- Smart Edit: change a result with a text instruction
- Model Swap: show the same look on a different model
- Image to Video: animate a still into a short clip
- Outputs are raw visuals, not packaged ads
- No ad copy is written for you here
Ad Studio
Finished adsTurning a product into ready-to-run ad creatives with copy for a chosen goal and platform.
- Image Ads: single, variations, or carousel at 1 credit per image
- Auto-written caption, headline, and call to action
- Aspect ratios preset for each platform
- Optional brand kit for logo and colors
- Needs a registered product first
- Free plan is capped at 3 variations or slides
How credits work
Every generation spends credits, and the Generate button always shows the exact cost before you commit. Costs vary by tool and by the options you pick.
Virtual Try-On: 1 to 3 credits per image by generation mode and resolution.
Image to Video: from 2 credits, scaling with the model, length, resolution, and audio.
Image Ads: 1 credit per image, so a 4-variation set is 4 credits and a 5-slide carousel is 5 credits.
On the free plan, generations paid entirely with free credits come out watermarked, and limits are lower (for example, up to 3 ad variations and 5 registered products). Paid plans remove the watermark and raise the limits. Credits are deducted when you click Generate.
Best practices
Start with a clear, well-lit, high-resolution photo. Better input means better output every time.
Let uploads finish (look for the confirmation) before you click Generate.
Test cheaply first: use shorter video lengths, lower resolution, or a small batch of ad variations, then re-run your favorite at full quality.
Learn to write prompts for edits and motion. A specific instruction beats a vague one. See the prompting guide.
Chain the tools: create an on-model shot, refine it, animate it, then package it as an ad.
Troubleshooting
Your image is still uploading. Wait for the confirmation, then generate again.
Lower plans allow only one generation at a time. Wait for the current one to finish, then start the next.
Watermark-free exports are a paid-plan benefit. See Plans & pricing to upgrade.
Higher counts, premium video models, and some quality tiers need a paid plan. Upgrade to unlock them.
What to do next
Ready to make something? Start here: