Product Photography
Turn any wearable product into a polished on-model shot from a text prompt, no model photo or shoot needed.
Product Photography (product-to-model) takes a photo of a wearable item and puts it on an AI model you describe in a prompt, producing a clean, catalog-ready on-model shot. Upload the product, describe the model and scene, set the look, and generate. It is the fastest way to get on-model imagery without a model or a studio.
At a glance
- You provide
- A wearable product image and a prompt
- You get
- An on-model photo of the product
- Best for
- On-model shots when you have no model photo
- Modes
- Fast, Balanced, Quality
- Resolutions
- 1K, 2K, 4K
- Cost
- From 1 credit, by mode and resolution
Use Product Photography when you want the tool to create the model for you from a prompt. Use Virtual Try-On instead when you already have a model (a preset or your own photo) and want to dress that specific person in the garment.
How it works
- 1
Open Product Photography
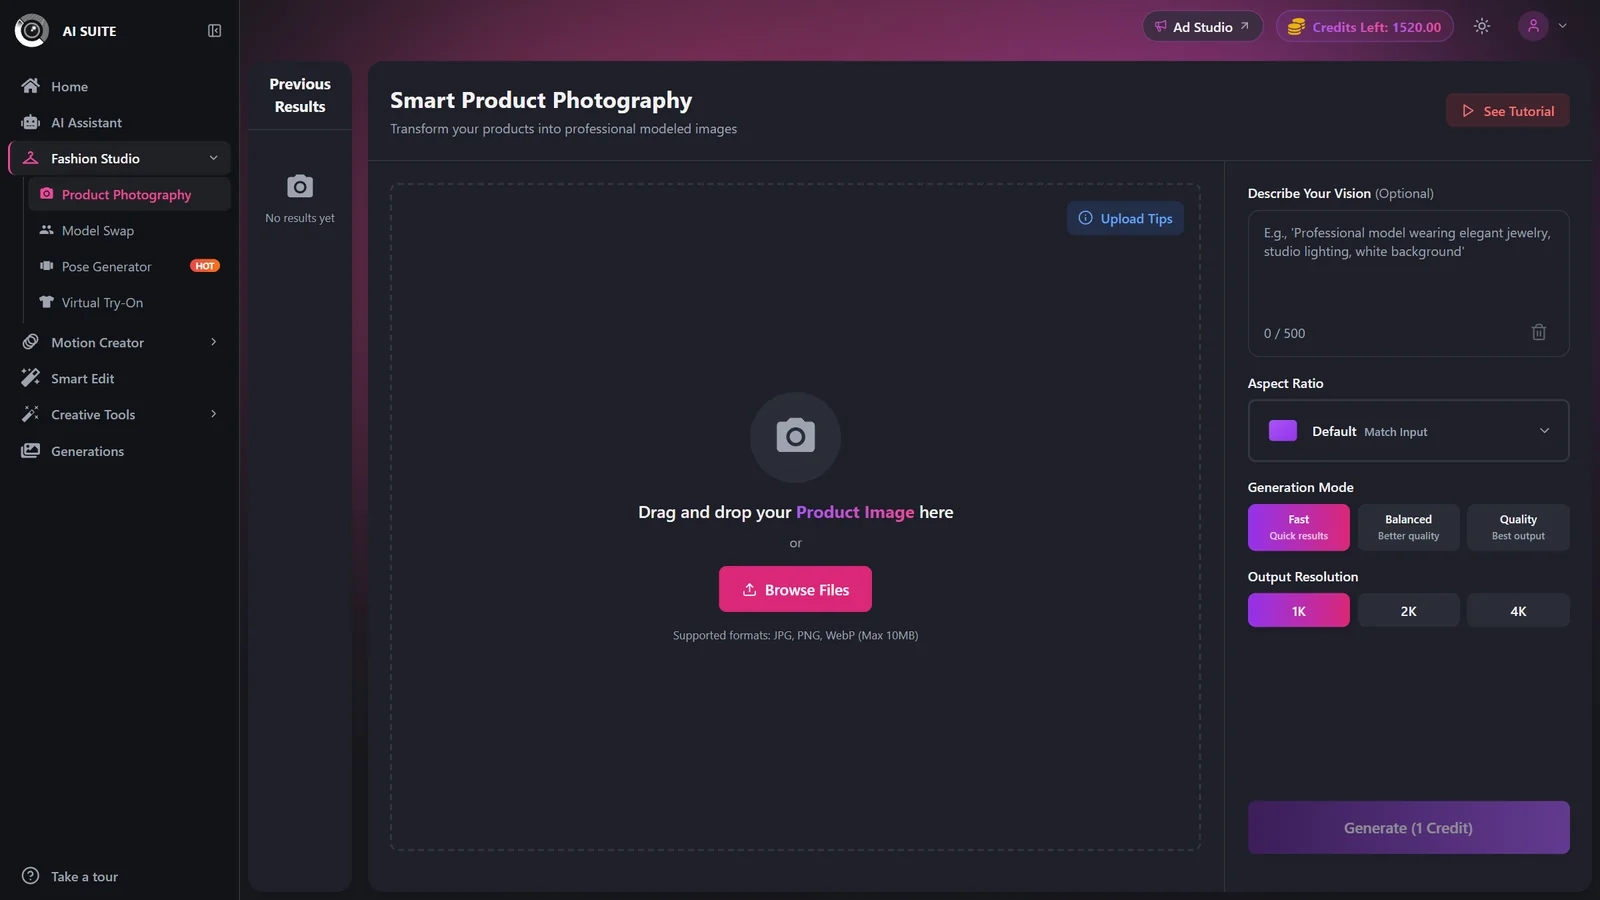
Open Product Photography in the AI Suite.
- 2
Upload your wearable product
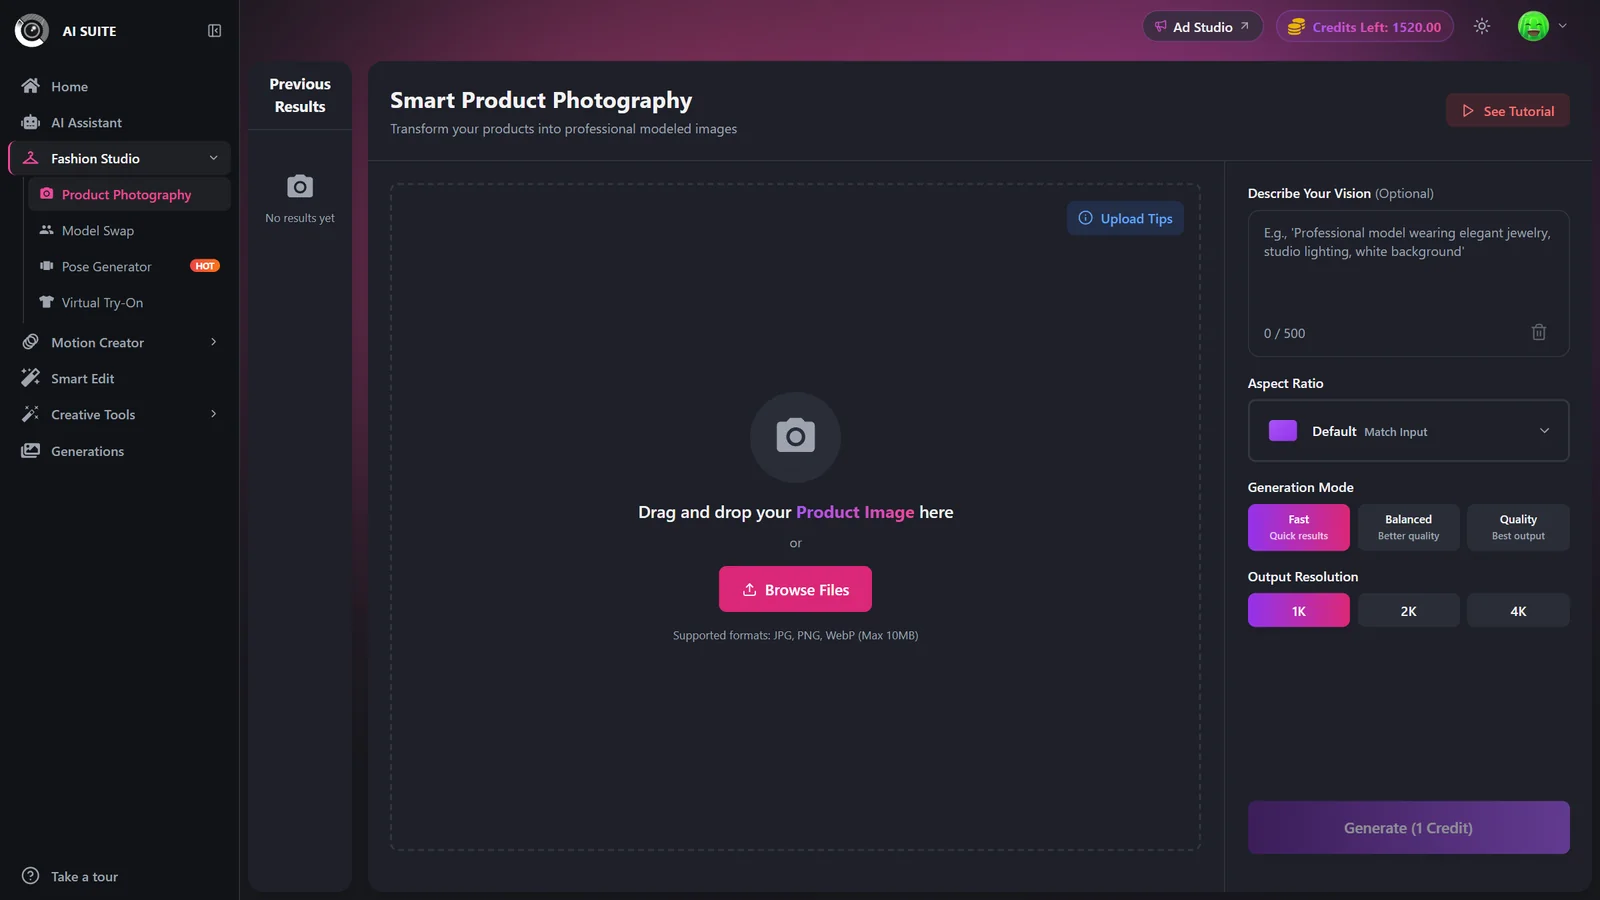
Drag and drop or Browse Files to add a clear photo of the item (a top, dress, shoe, bag, or any wearable). Wait for the upload to finish before generating.
- 3
Describe the model and scene
Write a prompt for the model you want wearing it: age range, look, pose, and setting. This is what replaces needing a model photo. See the prompting guide for tips.
- 4
Set aspect ratio, mode and resolution
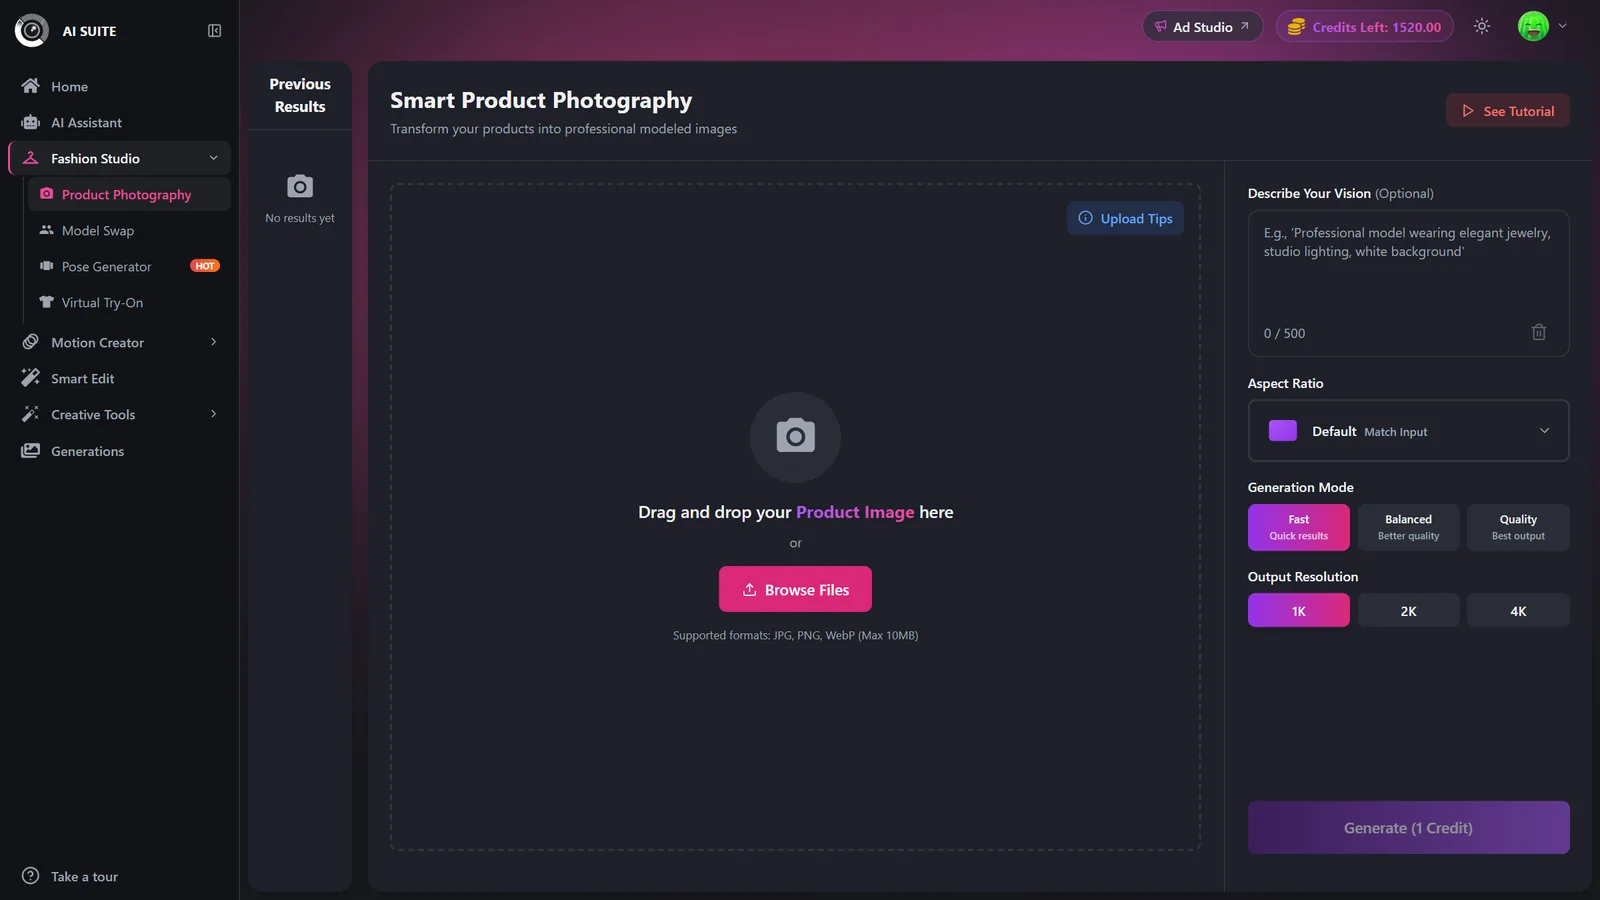
Choose an aspect ratio for the shot, a mode (Fast, Balanced, or Quality), and a resolution (1K, 2K, or 4K). Higher modes and resolutions cost more credits.
- 5
Confirm the cost and generate
The Generate button shows the exact credit cost before you spend anything. Click it to create the shot; finished shots are saved to your Generations history.
Settings & options
| Setting | Options | What it does |
|---|---|---|
| Prompt | Free text describing the model and scene | Who wears the product and where: age range, look, pose, and setting. The clearer the prompt, the more predictable the model. |
| Aspect ratio | Output shape of the shot | Pick the shape that fits where the shot will run, for example square for catalog or vertical for social. |
| Mode | Fast · Balanced · QualityDefault: Fast | Fast is the quickest, lowest-cost shot. Balanced gives good quality at a moderate cost. Quality pushes for the best catalog-grade result. |
| Resolution | 1K · 2K · 4KDefault: 1K | Higher resolution costs more credits, so only go 4K when you truly need it. |
Cost depends on the mode and resolution you choose, and the Generate button always shows the live amount first (in credits):
- Fast at 1K: 1, 2K: 1.5, 4K: 2
- Balanced at 1K: 1.5, 2K: 2, 4K: 2.5
- Quality at 1K: 2, 2K: 2.5, 4K: 3
On free-only credits, only Fast mode and 1K resolution are available, and the output is watermarked. Balanced or Quality mode and 2K or 4K resolution need a paid plan or purchased credits.
Best practices
Upload a clear, well-lit product image so the tool has clean detail to work from.
Be specific in the prompt (age range, look, pose, setting) for a predictable model.
Preview in Fast at 1K to lock the model and composition, then finalize your favorite in Quality.
Only step up to 4K for hero shots where the extra detail is worth the extra credits.
Troubleshooting
Make the prompt more specific about age, look, pose, and setting, then regenerate.
Watermarks apply when a shot is generated using only free credits. Watermark-free exports are a paid-plan benefit. See Plans & pricing.
On free-only credits, only Fast mode is available. Upgrade to a paid plan or buy credits to unlock Balanced and Quality.
On free-only credits, only 1K resolution is available. Upgrade to a paid plan or buy credits to unlock 2K and 4K.
What to do next
Got a shot you love? Take it further: