Change Background
Replace the background of an image with a new scene while keeping your subject in place.
Change Background swaps the background behind your subject for a new scene you describe in words. Upload one image, type the background you want, and generate. It is the fastest way to restage the same product or model in a fresh setting without a new shoot.
At a glance
- You provide
- One image and a background description
- You get
- The same subject on a new background
- Best for
- Restaging a product or model in a different setting
- Image formats
- JPG, PNG, WebP, up to 20 MB
- Prompt
- Required, up to 500 characters
- Cost
- 1 credit on free accounts, 0.5 credit on paid
Change Background is 1 credit per image on free accounts and 0.5 credit on paid accounts. The Generate button always shows the exact cost before you spend anything, and failed generations are fully refunded automatically.
How it works
- 1
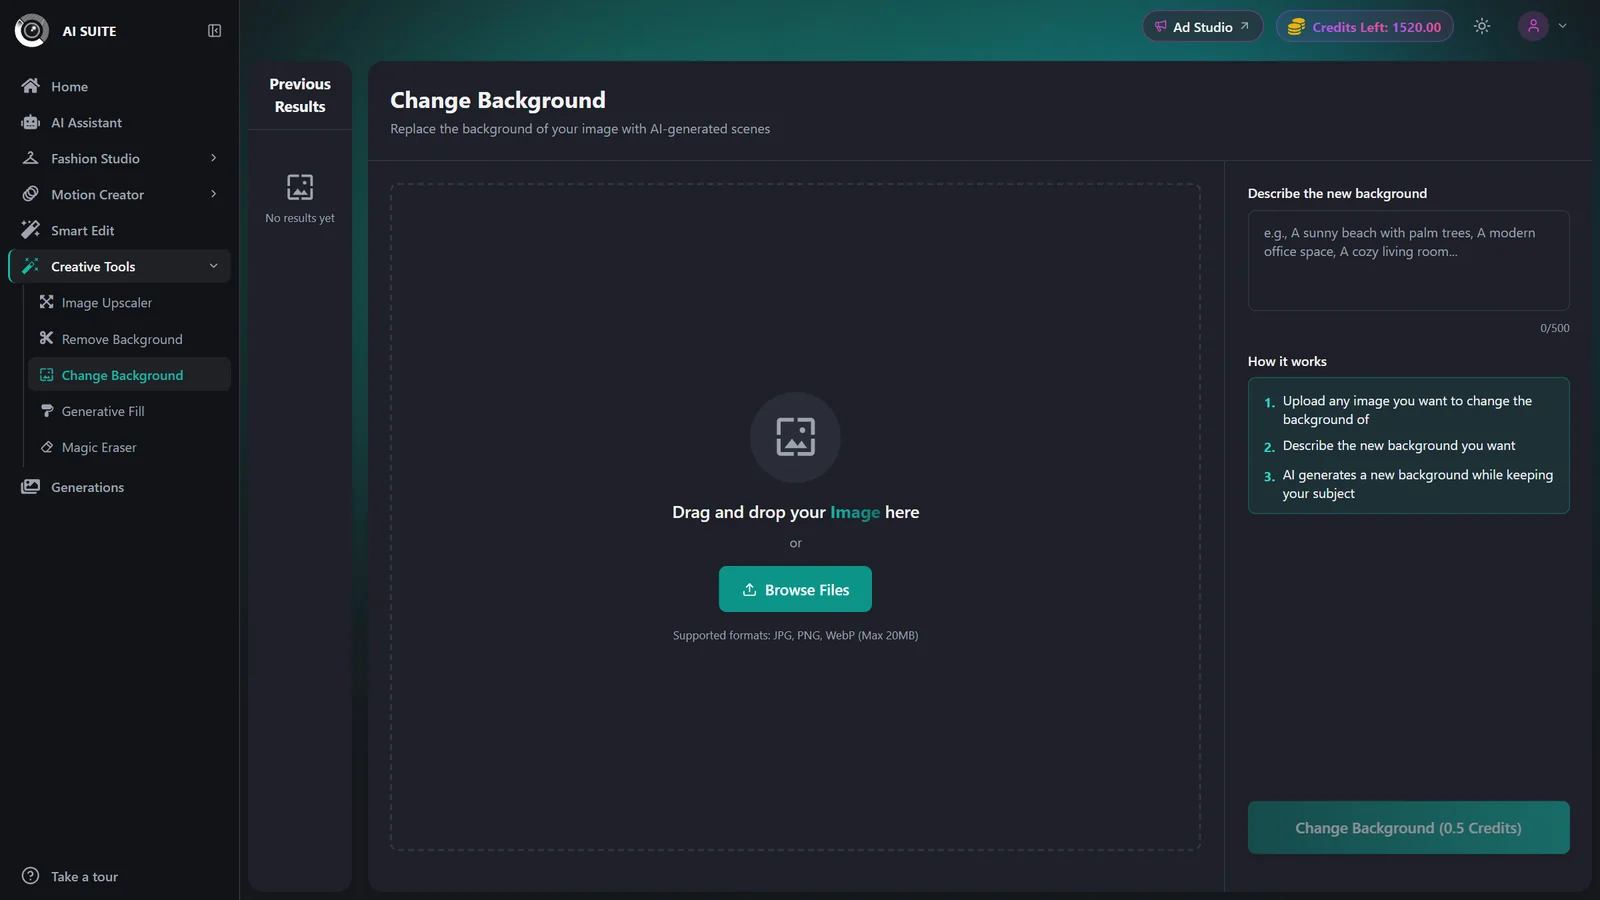
Open Change Background
Launch Change Background from the AI Suite.
- 2
Upload your image
Drag and drop or Browse Files to add a JPG, PNG, or WebP up to 20 MB. Wait for the green Ready check before generating.
- 3
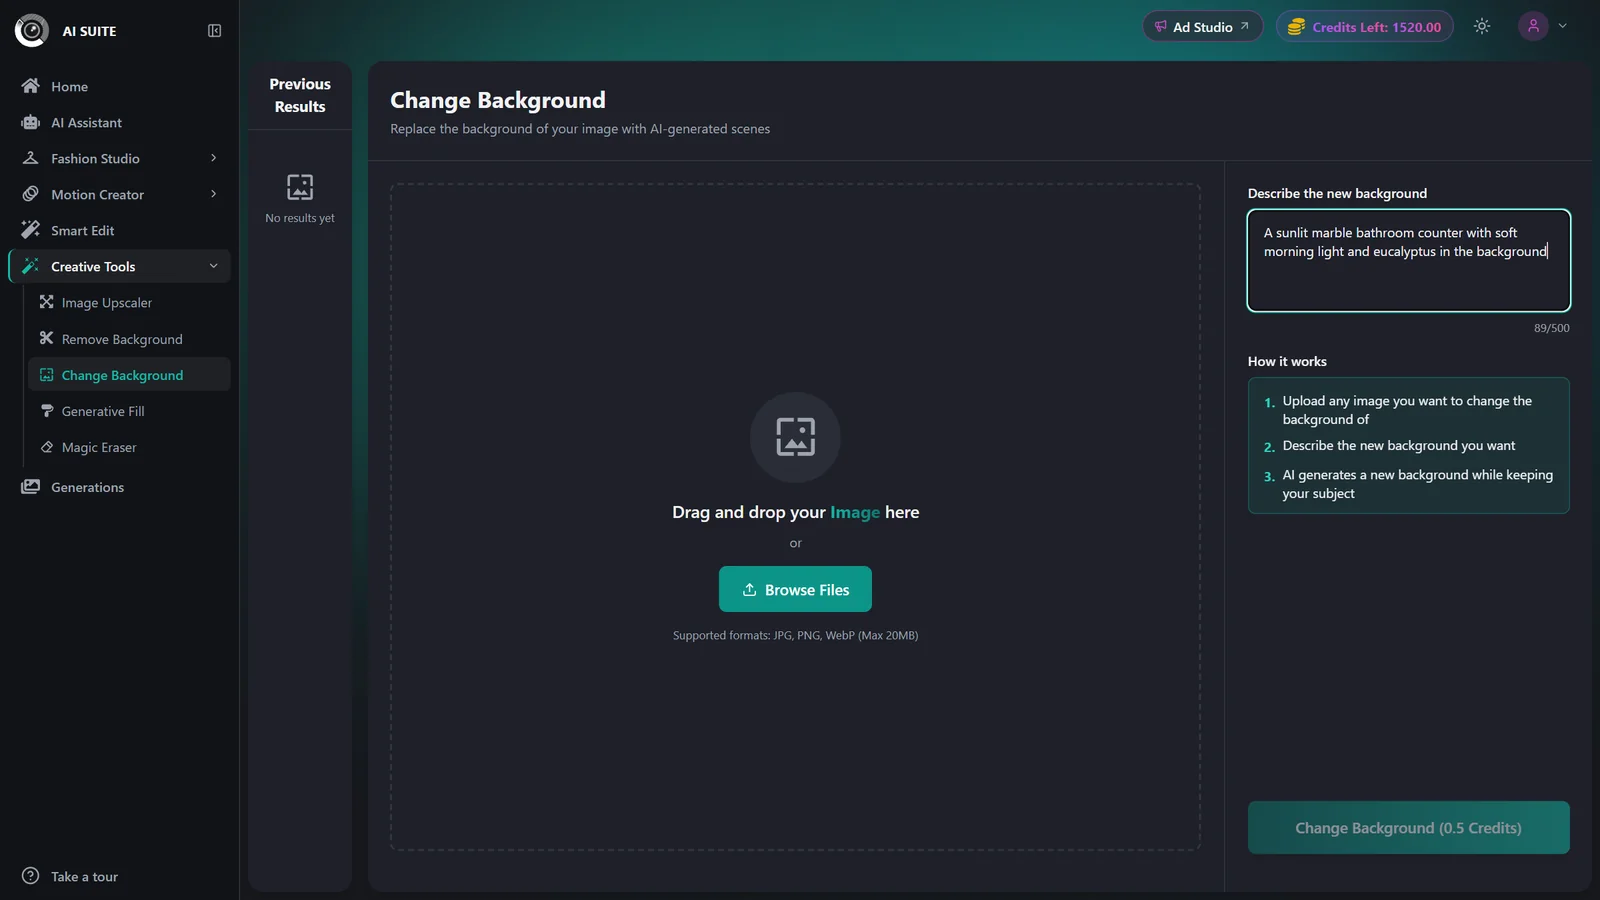
Describe the new background
Type the scene you want in the description box, for example "a sunlit marble tabletop with soft shadows" or "a minimalist studio with a warm beige backdrop." The prompt is required and can be up to 500 characters.
- 4
Confirm the cost and generate
The Generate button shows the exact credit cost. Click it and you are taken to the results page while your image renders. Finished images are saved to Previous Results and your Generations history.
- 5
Download the result
Open the finished image and download it as PNG, JPG, or WebP.
Best practices
Run Remove Background first on tricky subjects (fine hair, wispy edges, transparent items) so the new scene sits on the cleanest possible cutout.
Be specific about the setting, surface, lighting, and mood you want. A detailed prompt gives a more predictable result.
Match the lighting direction in your prompt to the light already on your subject so the composite looks natural.
Start from a clear, well-lit, high-resolution image with the subject sharply separated from its current background.
Troubleshooting
You need both an uploaded image (wait for the green Ready check) and a background description. Add whichever is missing.
Only JPG, PNG, and WebP up to 20 MB are accepted. Convert or compress the file and try again.
Run Remove Background first, then bring the clean cutout into Change Background for sharper edges.
Watermark-free exports are a paid-plan benefit. See Plans & pricing to upgrade.