Image Upscaler
Enlarge an image to a higher resolution so it stays sharp for print, hero placements, and large ads.
Image Upscaler takes a single image and rebuilds it at a higher resolution, keeping detail crisp instead of blurry when you scale up. Use it when a shot needs to be bigger or sharper for print, a website hero, or a large ad placement. Pick a target resolution of 1K, 2K, or 4K, confirm the cost, and download the result.
At a glance
- You provide
- A single image
- You get
- A higher-resolution version of that image
- Best for
- Making an image bigger or sharper for print or hero placement
- Target resolution
- 1K, 2K, or 4K
- Cost
- 1 credit at 1K or 2K, 2 credits at 4K
How it works
- 1
Open Image Upscaler
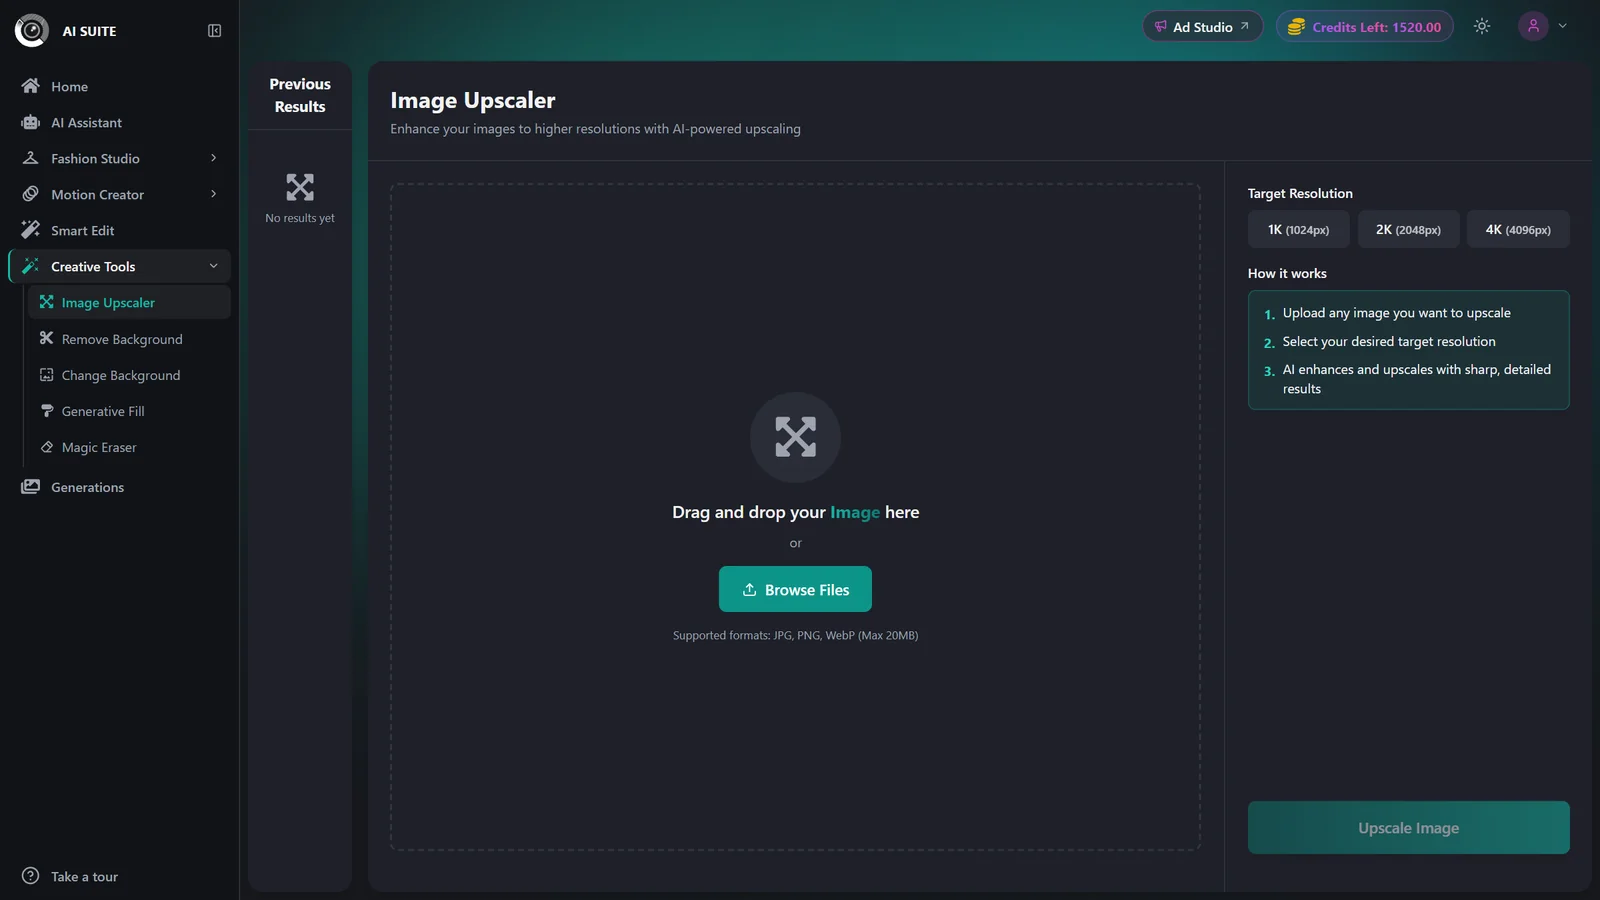
Open Image Upscaler from the AI Suite.
- 2
Upload your image
Drag and drop or Browse Files to add the image you want to enlarge.
- 3
Choose the target resolution
Pick 1K, 2K, or 4K. Higher resolution means a larger, sharper output. Choose 4K only when you truly need it, because it costs more.
- 4
Confirm the cost and run
The Generate button shows the exact credit cost before you spend anything. Confirm and run.
- 5
Download the upscaled image
When it finishes, download the higher-resolution image. It is also saved to your Generations history.
Settings & options
| Setting | Options | What it does |
|---|---|---|
| Target resolution | 1K · 2K · 4K | The size of the upscaled output. 1K and 2K cost 1 credit each; 4K costs 2 credits. |
Cost is flat per run and depends only on the target resolution:
- 1K: 1 credit
- 2K: 1 credit
- 4K: 2 credits
The Generate button always shows the live cost before you spend anything.
Best practices
Choose 4K only when you actually need it, since it costs double a 1K or 2K run.
For everyday web and social use, 1K or 2K is usually plenty and costs the same single credit.
Start from the cleanest source you have. Upscaling makes an image bigger, so it works best when the original is already in focus.
What to do next
Now that your image is crisp and high-resolution: