
Table of Contents
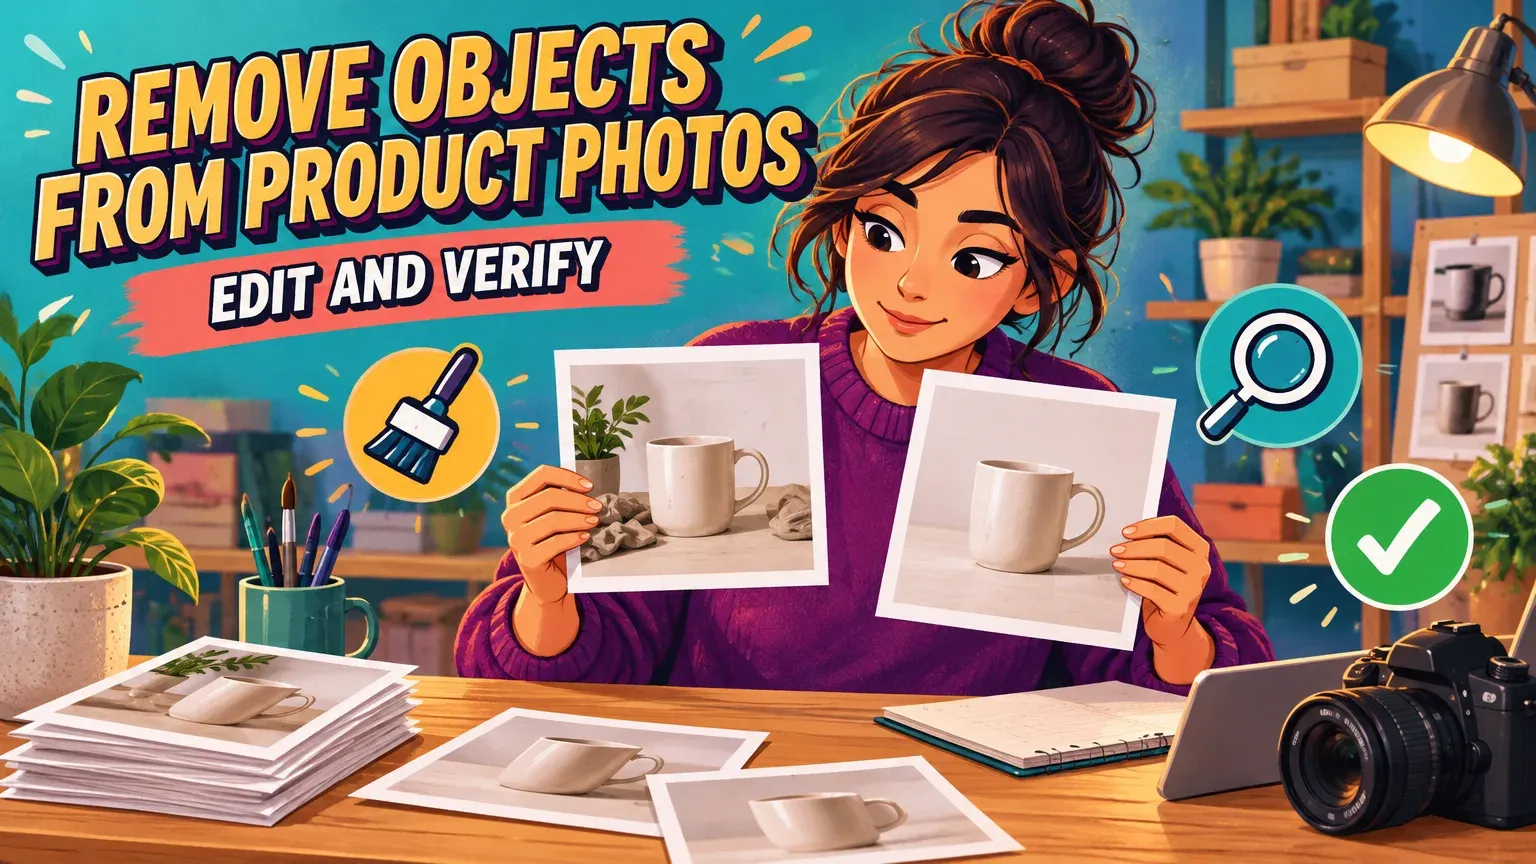
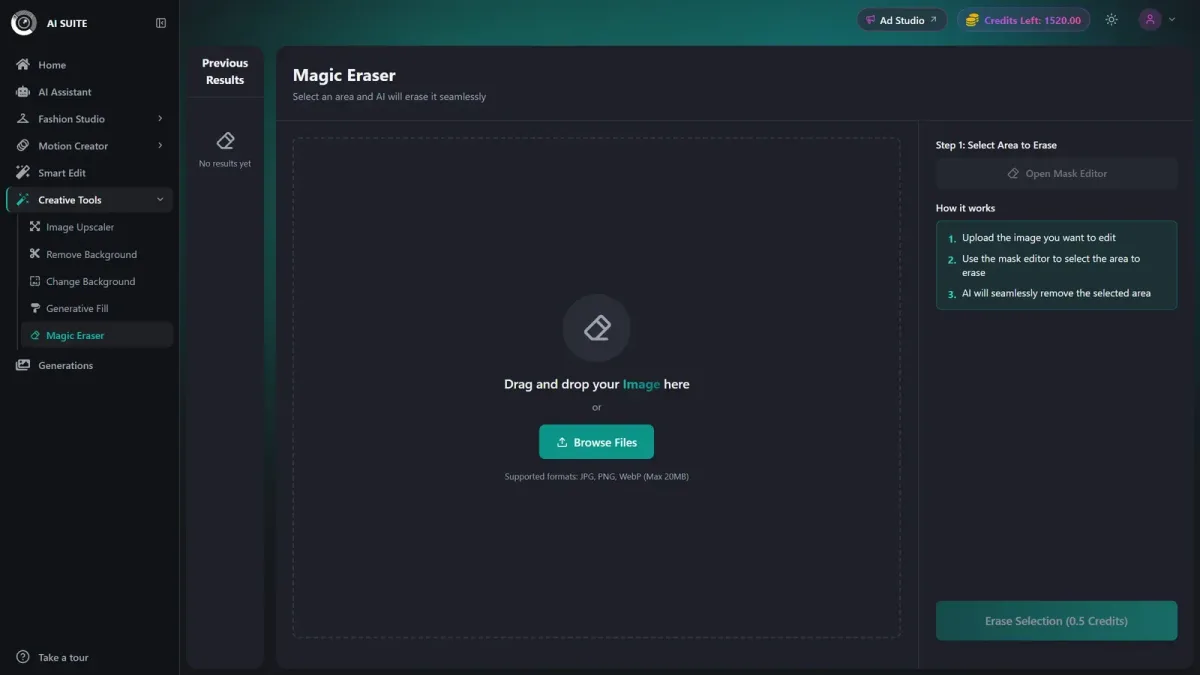
To remove objects from product photos, start with localized cleanup of isolated background clutter. Our Magic Eraser editor accepts JPG, PNG and WebP uploads up to 20MB. Upload, brush and erase, then inspect the entire product before downloading. A realistic-looking repair is not proof that hidden product details are accurate.
You need a browser, the original photo and, if available, unobstructed photos of the same product. For overlapping obstructions, our reference-assisted Smart Edit can use those photographs to guide the repair.
How can I remove unwanted objects from product photos with AI without altering the product?
Use a tight selection around isolated clutter, then compare the complete output with the original to check that the product has not changed. Masks guide the edit, but changes can extend beyond the intended boundary, according to OpenAI’s image-generation guide. The same limitation applies to highlighted selections in OpenAI’s ChatGPT image editor. The brush directs the edit; inspection determines whether the result is usable.
Step 1: Save the original and map the obstruction
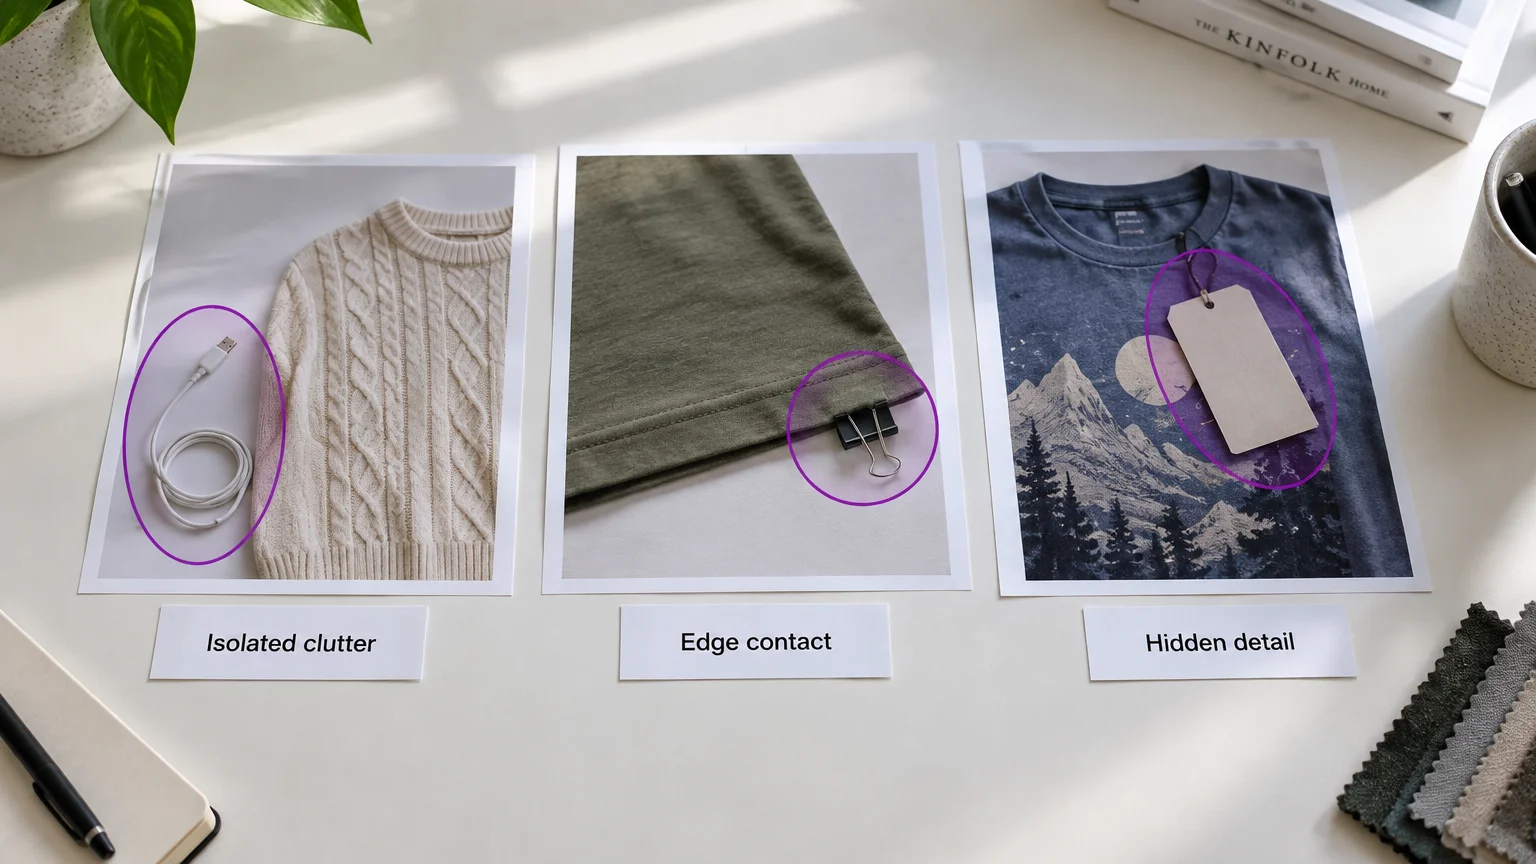
Save an untouched original, then identify the unwanted object, its shadow and every point where it touches or covers the product. Distinguish background cables, people and props from product logos, wear or damage.
AI inpainting generates a plausible replacement from context. To verify a hidden seam, printed character or fastening, you need an unobstructed photograph showing that detail.
Step 2: Choose the edit based on overlap risk
Choose the method according to how much product detail remains visible and what your reference photographs show.
| Obstruction | Available product evidence | Starting method | Stop condition |
|---|---|---|---|
| Isolated background clutter | Product fully visible | Localized object removal | Any product change |
| Object touching an edge | True edge visible or referenced | Tight removal; retouching from reference photographs | Edge requires guessing |
| Covered seams or prints | Unobstructed same-product photo | Reference-assisted editing or manual retouching | Construction or pattern unverifiable |
| Covered logo or text | Exact lettering and placement documented | Reference-assisted editing; otherwise reshoot | Changed or invented characters |
| Obscured hardware | Count, shape and position documented | Manual retouching from reference photographs | Invented button, zipper or clasp |
| Transparent material | Transmission and layers visible | Controlled manual work or reshoot | Changed transparency or layering |
| Reflection | Finish and curvature remain verifiable | Localized cleanup or manual retouching | Changed material or shape |
Object removal repairs a local patch. Background removal creates a cutout; generative fill adds or replaces content. Instruction-based editing uses image context, while manual retouching gives you control over the pixels used for a repair, as Adobe’s Content-Aware Fill guide explains.
Remove an external reflected distraction only when you can still verify the product’s finish and shape. We recommend reshooting when an obstacle hides a design or text and no unobstructed same-product photograph shows the missing detail.
Step 3: Upload, brush and review with our Magic Eraser
- Upload the original. Open the public Magic Eraser editor, or open AI Suite → Magic Eraser in the studio.
- Adjust the brush. Cover the unwanted object completely, including a small background margin where necessary. Keep product details outside the selection, even if some unwanted pixels remain.
- Handle shadows separately. Remove a distraction’s separate shadow where appropriate. Preserve product-contact shadows that ground the item and show its shape.
- Confirm and run. Confirm the studio edit cost before processing: 0.5 credit per edit on paid plans and 1 credit for free users, as shown in our Magic Eraser guide.
- Review the repair. Look for smears, repeated texture and altered edges, then inspect the full product.
An oversized selection increases the amount of generated content. If the attempt fails, return to the original and revise the selection rather than repeatedly editing a degraded output.
Step 4: Use same-product references when Magic Eraser needs more context
Use reference-assisted editing when additional photographs show the exact product detail hidden by an obstruction. Our Smart Edit accepts one or more images plus a text instruction.
- Main image: supplies composition, camera angle and lighting.
- Reference images: show the same SKU and colorway, including its print, construction and hardware. Prefer a similar viewing angle.
Try a single-change prompt: Use image 1 as the main photo. Remove only the clip overlapping the left hem. Use image 2 as evidence for this same garment’s hem and stitching. Preserve visible color, print, logo, silhouette, hardware, lighting and camera angle. Make no other changes.
OpenAI recommends GPT Image 2.5 Sunburst for workflows where editing precision matters most. Whichever model you choose, compare the reconstructed detail with your reference photographs. If you still cannot verify a selling detail, use a retoucher with adequate photographs or reshoot.
Step 5: Compare the whole product at matched scale
Compare the original and output at identical dimensions, crop and zoom, first as a whole product and then at 100%. At 100%, each image pixel is displayed by one monitor pixel, according to Adobe’s image-viewing guidance. Keep full-resolution originals separate from comparison copies.
Review each attribute below. Record what you see in the output, whether it passes or fails, and what to do next.
| Attribute | Compare with original or reference | Reject example |
|---|---|---|
| Seams | Stitching paths and construction lines | Shifted stitches or invented joins |
| Logos and text | Characters, typography, spacing and position | Changed spelling or placement |
| Texture | Weave, grain, pattern and transparency | Smoothed fabric or repeated pattern |
| Color | Hue and colorway under matched viewing conditions | Unexplained color shift |
| Hardware | Count, position, shape and finish | Missing clasp or extra button |
| Shadows | Grounding, light direction and shape cues | Floating product or inconsistent shadow |
| Silhouette | Hems, straps, sleeves, edges and proportions | Shortened hem or reshaped sleeve |
Reject any unexplained product change or reconstructed selling detail you cannot verify. Include areas outside the repaired patch in your inspection. If the result fails, return to the original, use retouching supported by reference photographs or reshoot. Preserve real damage in resale listings: the photograph must represent the item’s condition.
Step 6: Download an accepted result and check publishing requirements
Download only an accepted result, and keep it with the original and references for the same SKU and variant. A useful filename includes the SKU, variant, original image identifier and edit version.
| Upload route | Formats | File-size limit |
|---|---|---|
| Public Magic Eraser editor | JPG, PNG, WebP | 20MB |
| Smart Edit: GPT Image 2 workflow | JPG, PNG, WebP | 10MB per image |
Our public Magic Eraser offers seven days free. In the studio, edits cost 0.5 credit on paid plans and 1 credit for free users.
For alternatives, Pixelcut’s object remover advertises free HD downloads without a watermark, while Cleanup.pictures’ free editor caps exports at 720px. Choose an editor whose downloads meet your listing requirements.
| Editor | Free offer | Publishing check |
|---|---|---|
| Pixelcut | HD download without a watermark | Compare the downloaded file’s pixel dimensions with the listing requirement. |
| Cleanup.pictures | Free export capped at 720px | Use only where the destination accepts those dimensions. |
Record each finished image’s actual width, height and format, then check them against the destination’s image requirements. Google Merchant Center guidance, for example, requires images to reflect the variant’s exact color, pattern, finish and material.
Scale the workflow without skipping per-image inspection
An image-editing API can automate submission, but every edited catalogue image still needs its own accuracy check.
For an integration, use OpenAI’s image-editing API with original images and a specific removal instruction. A developer can connect image submission, output storage and the review log.
Photoroom reports that Valuence Japan cut 600 hours of editing time and saved $80,000 a year across its wider workflow. Those results are not a general promise of object-removal savings; measure both editing and inspection time in your own workflow.
Keep a review log for each image:
- Identity: SKU, variant, original filename, reference filenames and edited output.
- Review: inspected attributes, reviewer and pass or fail reason.
- Next action: publish, retry from original, retouch using reference photographs or reshoot.
Keep failed outputs outside publishable folders. Check each variant against its own references and retain a dedicated image for every variation.
Our AI Assistant supports broader creative workflows for up to 500 products. That capacity applies to creative production, not a substitute for per-image cleanup and inspection. Only accepted cleanup images should proceed into on-model imagery, catalogue poses or ads.
Frequently asked questions
Can ChatGPT remove an object from a photo?
Yes, ChatGPT can remove an object through image editing. Upload the photo and request one specific removal, using a selection where available. OpenAI warns that edits can extend beyond the selected area, so compare the entire product with the original before publishing.
How do I remove unwanted objects from photos on my iPhone?
Use our browser-based Magic Eraser: upload the original, brush over the distraction and run the removal. Keep an untouched original, compare the full product and download only a result that passes inspection.
Recap: Preserve evidence before publishing
Save the original, choose a controlled edit and compare the entire product against the original and any same-product references. If you cannot verify a repaired detail, retouch from adequate photographs or reshoot. For broader tool guidance, read our general Magic Eraser guide.