
Table of Contents
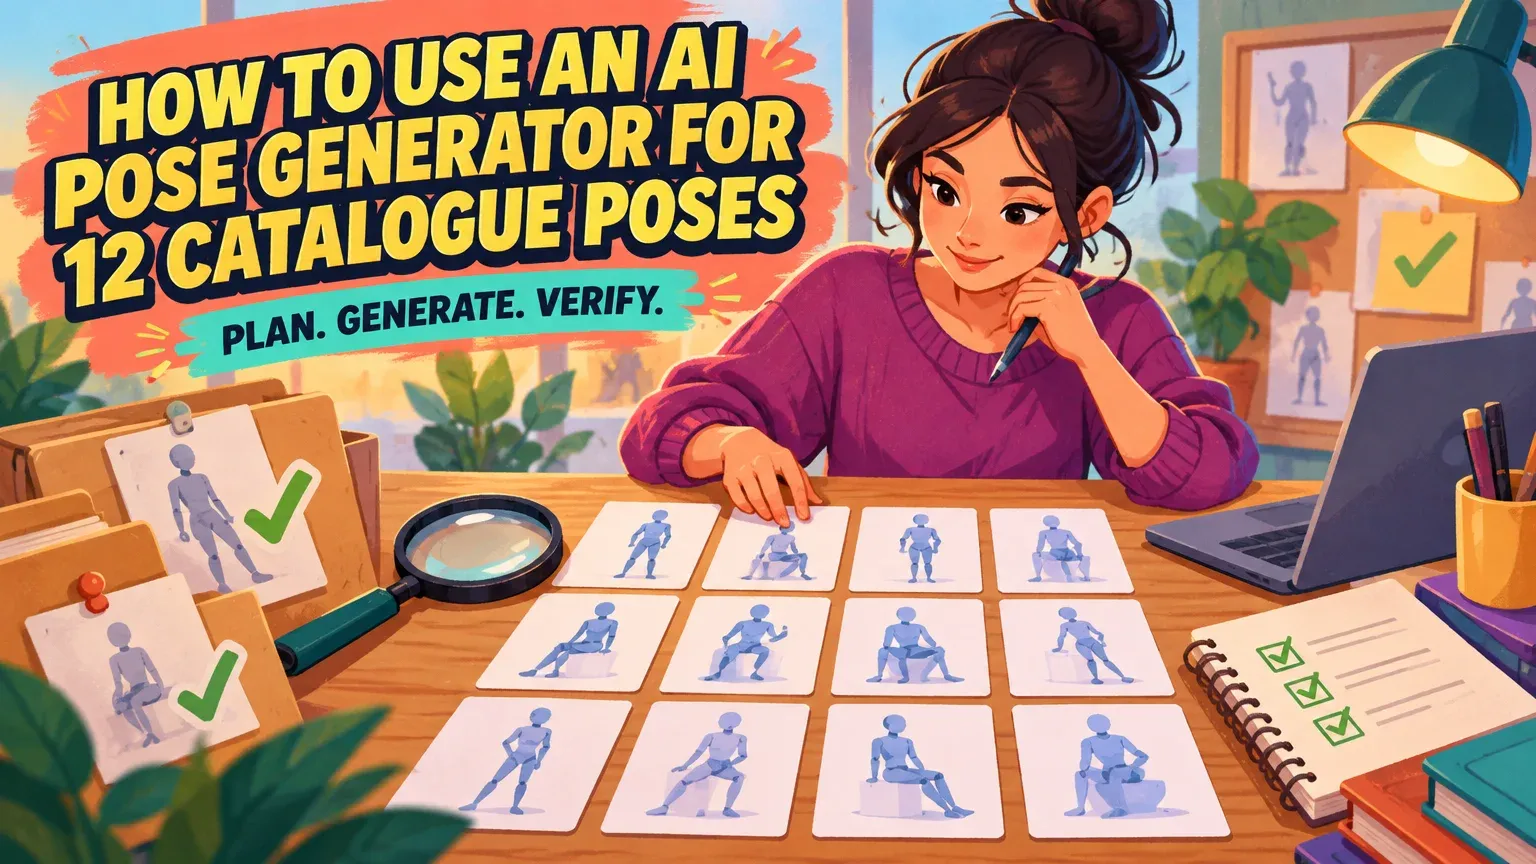
Use an AI pose generator to turn one model photograph into a planned twelve-slot catalogue set. Our Catalogue Studio generates 4–12 candidate poses in Auto or Manual Mode. Build the set around the views shoppers need, then publish only images with accurate garment details and distinct product coverage.
How can I create 12 different catalogue poses from one model photo without another photoshoot?
Upload one clear model photo to our Catalogue Studio, choose Auto or Manual Mode, and request twelve candidates. Plan the views first, then follow upload → specify views → generate → inspect → download. Compare the results with real garment references and keep the images that add useful, accurate coverage.
Start creating catalogue poses from your existing model photograph. Check that the model and outfit remain consistent across the set, along with framing, lighting and background.
You need a browser, Catalogue Studio access, a clear on-model photo and garment references for visual inspection. Generation takes under five minutes; allow additional time for planning, retries and review.
1–2. Choose a clear source and establish what it proves
1. Choose a photograph that shows the garment clearly
Choose a sharp, simply lit photograph with minimal obstruction and enough framing for the intended views. Our Catalogue Studio accepts JPEG, PNG and WebP files up to 10 MB.
- Keep the garment, hem, sleeves and important closures visible.
- Avoid hair, hands or accessories covering construction details.
- Use full-length framing when shoppers need to assess overall length.
- Check that prints, seams and closures remain readable when enlarged.
2. Separate visible garment details from generated guesses
Photo pose generation starts with an existing model-and-garment photograph. Drawing-reference tools serve artists, while identity-based generation creates new images around a person’s likeness.
| Route | Starting point | Main job |
|---|---|---|
| Drawing-reference generation | Sketch, prompt or pose reference | Provide a figure or gesture to draw |
| Photo pose generation | Existing model-and-garment photo | Request new views of the photographed outfit |
| Identity-based generation | Person’s likeness | Create new images around that identity |
Our Model Swap changes the model while preserving the garment, pose and lighting; pose generation requests a different stance. For flat-lay and mannequin sources, follow our AI fashion model generators guide.
Shoppers seek garment length, scale and fit information, according to Baymard Institute’s human-model research. Verify those qualities against real garment photographs.
Record which details are visible in your starting photograph. Keep real side, back and detail photographs alongside it to check any newly exposed areas in the generated candidates.
3. Define twelve useful catalogue slots before generating
Each slot should answer a shopper’s question about the garment. Adapt this plan to your product, omitting views you cannot verify.
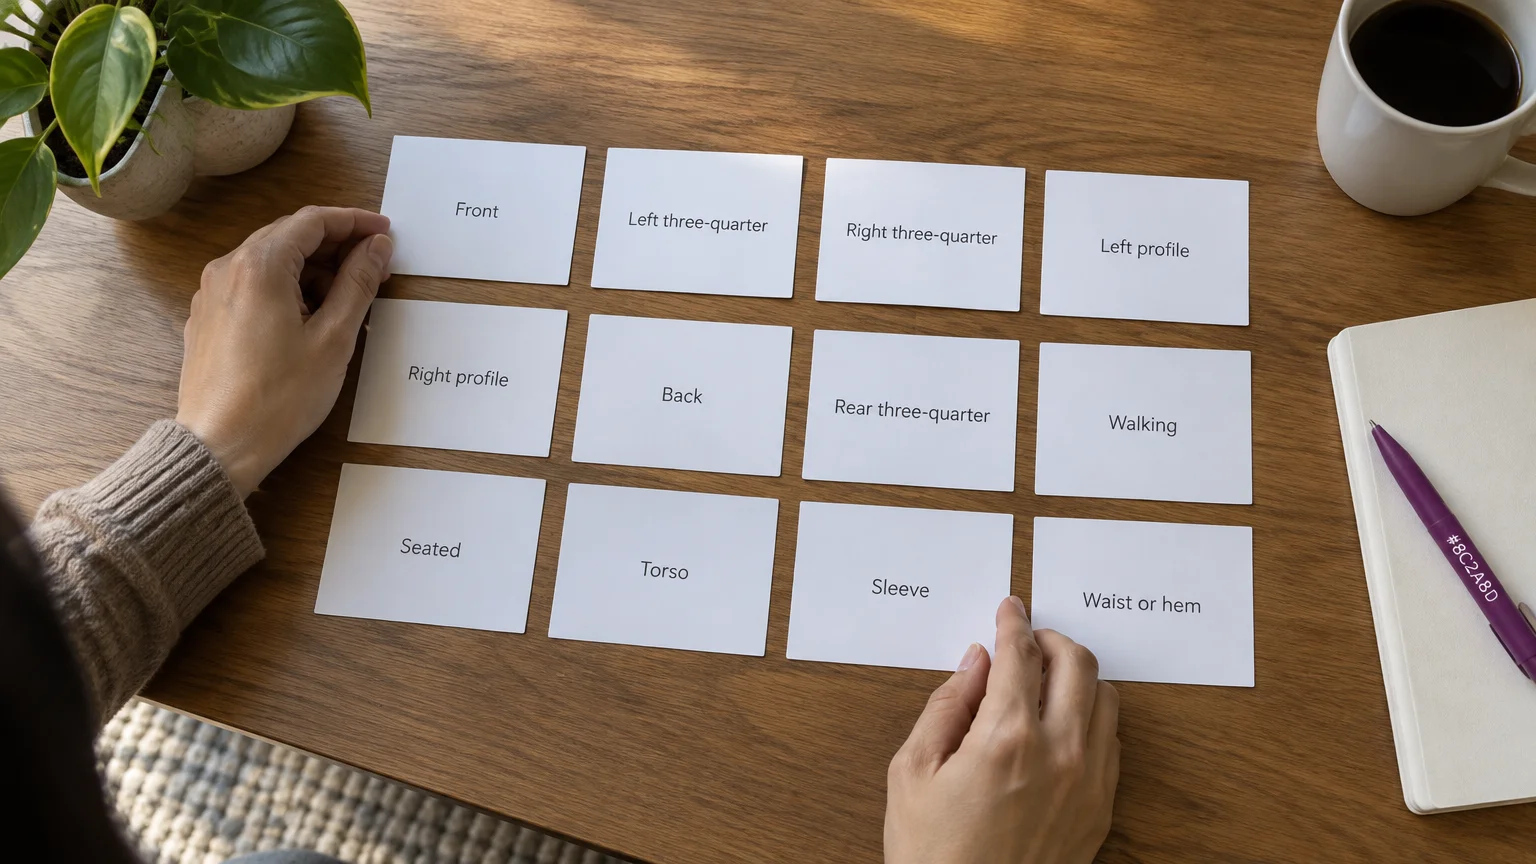
| Slot and view | Purpose | Crop | Product checks | Evidence needed |
|---|---|---|---|---|
| Front standing | Overall silhouette | Full length | Hem, proportions, closure count | Clear front source sufficient |
| Left three-quarter | Front-to-side shape | Full length | Print continuity, side details | Additional evidence if hidden areas appear |
| Right three-quarter | Asymmetric features | Full length | Correct side and placement | Additional evidence if hidden areas appear |
| Left profile | Side shape and length | Full length | Left seam, silhouette | Additional left-side evidence required |
| Right profile | Opposite-side construction | Full length | Right seam, asymmetric details | Additional right-side evidence required |
| Back standing | Rear construction | Full length | Rear seams, closures, length | Additional back evidence required |
| Rear three-quarter | Back-to-side transition | Full length | Panel and seam continuity | Additional back and side evidence required |
| Restrained walking | Movement-oriented styling | Full length | Silhouette, unchanged details | Source sufficient for visible details only |
| Seated three-quarter | Seated styling | Garment fully visible | Anatomy, closures, apparent length | Additional evidence if hidden areas appear |
| Front torso | Neckline and print | Torso | Closures, print placement | Detailed front source sufficient |
| Sleeve detail | Sleeve and cuff construction | Arm and cuff | Shape, seams, stitching | Additional close reference if source lacks detail |
| Waist, pocket or hem | Category-specific construction | Relevant detail | Pocket count, waistband, hem | Additional close reference if source lacks detail |
Use walking and seated images for styling; assess physical drape and measured fit using real garment references. Replace irrelevant slots with views you can verify.
4. Choose Auto or Manual Mode and check the generation charge
Choose variety or specify individual poses
Use Auto Mode for broad variety, with optional guidance and background preservation. Use Manual Mode when specific views matter, describing torso angle, arms, legs and head direction for each pose.
You can select up to ten of twenty preset options. Plan your twelve catalogue slots around useful garment coverage rather than the number of presets.
Start with requests like these, then inspect how closely each result follows the pose and framing:
- Front standing: Face the camera, arms clear of closures, feet comfortably apart, head forward; show the full garment.
- Three-quarter: Turn the torso slightly left, arms clear of the waist, relaxed legs, face toward the camera.
- Side profile: Turn sideways, arms away from the side seam, neutral stance, head aligned with the torso; frame full length.
- Walking: Take a restrained forward step, relax the arms, look ahead and keep the garment visible.
- Seated: Sit three-quarter to the camera, feet supported, hands clear of closures, head toward the camera; include the garment.
- Detail crop: Frame the neckline, sleeve or waist closely enough to inspect construction.
Budget for accepted images, not generated count
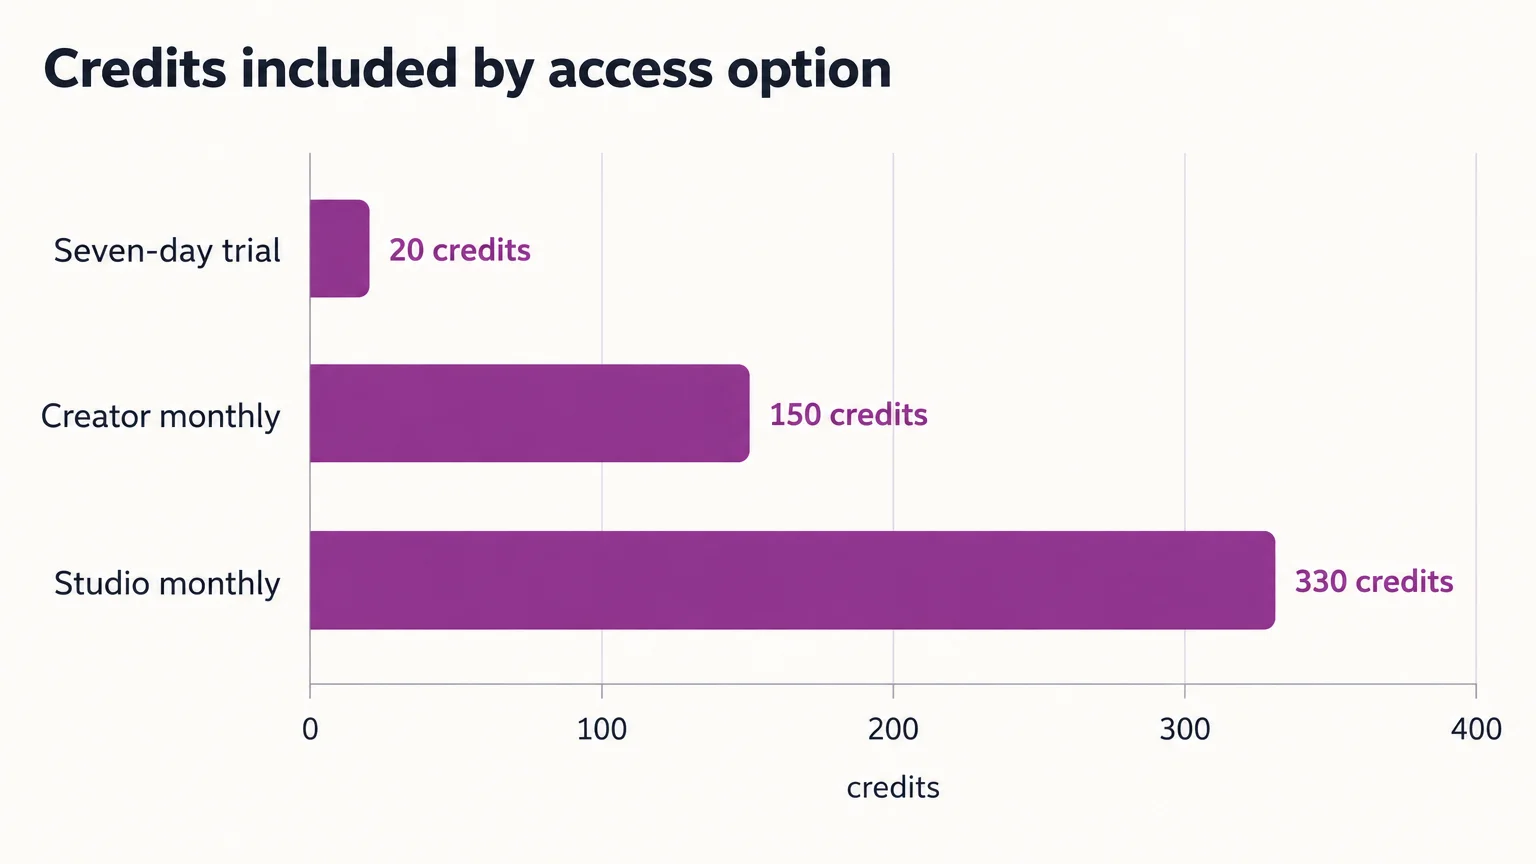
Our seven-day trial costs $1 and includes twenty credits. Trial outputs carry a watermark. The monthly plan prices below exclude applicable taxes.
| Access option | Price in US dollars | Included credits |
|---|---|---|
| Seven-day trial | $1 | 20 |
| Creator monthly | $49 | 150 |
| Studio monthly | $99 | 330 |
See our production pricing for Creator and Studio plans. The Generate button displays the exact credit charge before spending, so read it before each run.
Example: budget a partially accepted pose set
Assume you generate twelve candidates, reject four as inaccurate or duplicate images, and consume twenty credits across generation and retries.
- 12 candidates − 4 rejected or duplicate images = 8 accepted images.
- 20 credits ÷ 8 accepted images = 2.5 credits per usable image.
For production budgeting, divide the credits you consume by the number of usable images you keep.
5. Inspect every candidate against garment evidence
A familiar face is not enough to approve an image. Compare each candidate with the original photograph and relevant garment references, enlarging construction details beyond thumbnail size.
Use this checklist to record your review of each candidate:
| Field | Record or inspect | Acceptance rule |
|---|---|---|
| Identifiers | Candidate, requested slot, source and reference filenames | Evidence traceable |
| Identity and anatomy | Face, proportions, hands, fingers, limbs | Matching identity and sound anatomy |
| Shape and fit | Length, silhouette, apparent fit | Consistent with available evidence |
| Construction | Closures, pockets, seams, asymmetric features | Counts and placement match |
| Surface details | Logos, prints, fabric texture | Details match the real product |
| Hidden areas | Back, side panels, interior layers, concealed closures | Real evidence supports newly exposed construction |
| Set consistency | Lighting, background, framing, duplicate coverage | Coherent and genuinely distinct |
| Decision | Accept, retry or replace; record reason | Accept only verified coverage |
Reject unverified hidden construction. An accurate back view needs a real back reference, even when a generated result looks convincing. Do not publish changed prints, invented closures or unsupported rear panels.
6. Remove duplicates and replace missing coverage selectively
Changes to hand or head positions count as duplicate coverage when they reveal essentially the same garment information. Keep the strongest view and address gaps according to the problem:
- Visible detail distorted: Simplify the request for the next 4–12-pose generation.
- Source unclear or cropped: Start with a sharper, better-framed photograph.
- Hidden construction unverified: Obtain real garment evidence or retain a real product photo.
- Repeated failures: Substitute a verified detail crop or commission the missing view.
Use a photographer when construction or fit cannot be represented reliably, or a retoucher for correctable defects while preserving real product features. A targeted garment photograph may suffice instead of another full model shoot.
Keep approved images rather than replacing the whole set. For missing coverage, generate another batch with clearer requests, inspect the new candidates and retain only the views you need. Track consumed credits against accepted, nonduplicate results.
7. Download approved images and arrange them for publication
Our Catalogue Studio supports individual and batch downloads. Separate approved candidates before publishing, then complete these checks:
- Order listings: Lead with the clear primary view, followed by useful angles and construction details.
- Check delivery: Compare downloaded files with the destination’s current crop, dimensions, format and delivery requirements.
- Retain inspectable detail: Poor image quality and inadequate zoom cause product abandonment, according to Baymard Institute’s image-quality research.
- Make alternatives discoverable: Show at least three product-list thumbnails, including the default, following Baymard Institute’s thumbnail recommendations. Display all gallery thumbnails by default, following its gallery guidance.
- Check Google Merchant Center: Show the exact item in the primary product image; additional product images may show use or details.
- Verify AI metadata: Google Merchant Center requires AI-image metadata: IPTC DigitalSourceType TrainedAlgorithmicMedia. Verify the file carries IPTC’s generative-media identifier.
- Adapt lookbooks and social crops: Use approved styling or movement views while keeping product coverage clear.
Recap: publish useful coverage, not a pose count
A smaller accurate set beats twelve images with duplicates or invented construction. Use your view plan and inspection checklist to decide what earns a place in the listing. Bring your photograph and plan to our studio.