
Table of Contents
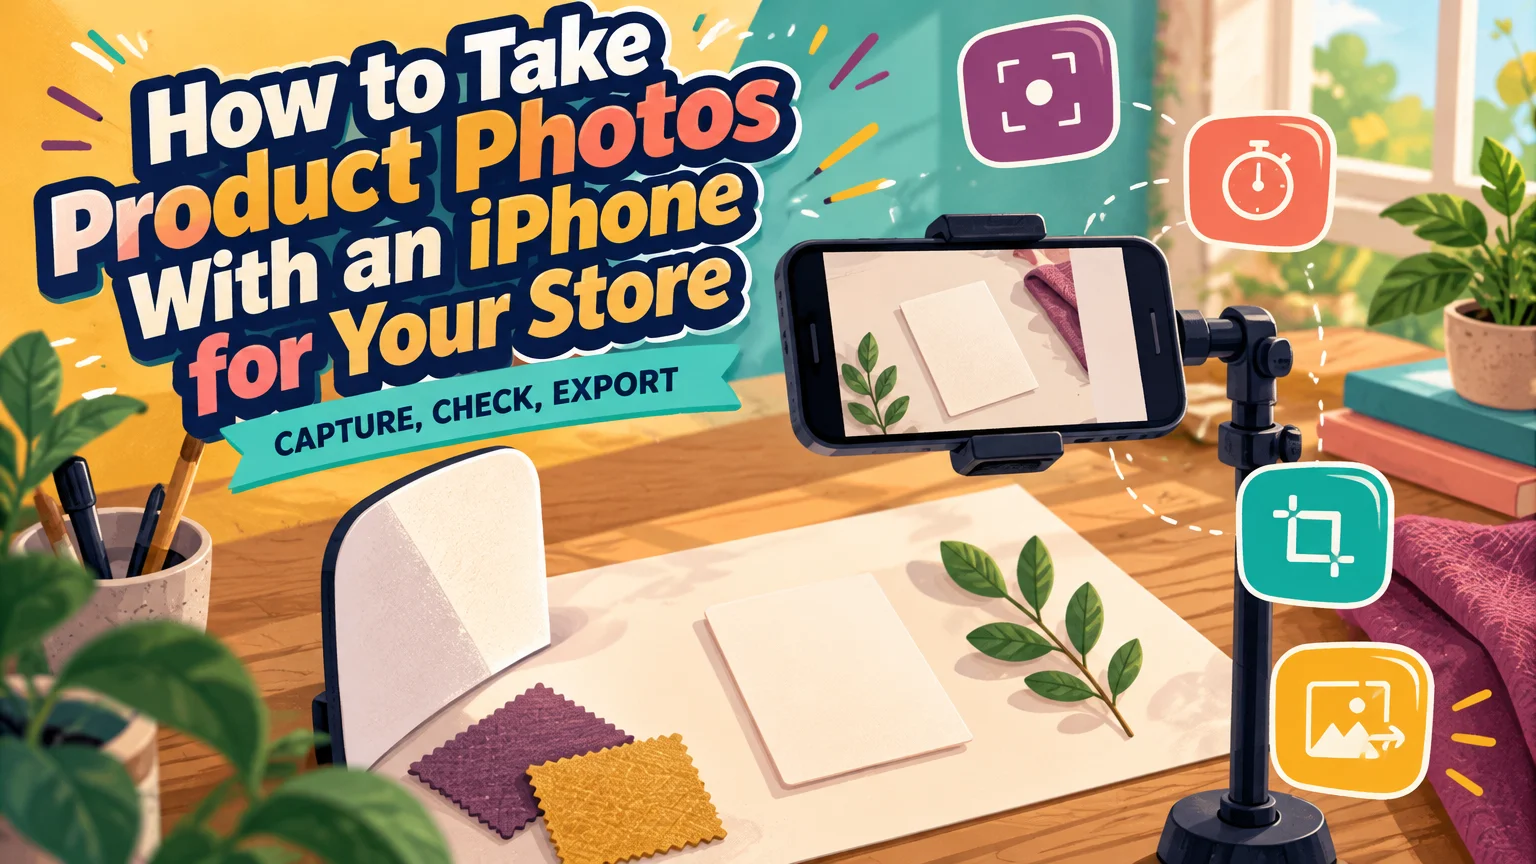
You can take sharp, believable product photos with your existing iPhone. Start with soft window light, a plain backdrop, white card and steady phone support. Use 1x and lock focus and exposure, as Linda Repasky's camera handout recommends. Choose 4:3 and a 3-second timer using the controls in Apple's camera tools guide. A white-card reflector lifts shadows, as demonstrated in Visual Education's lighting tutorial. Aim for consistent front, back and detail views that show the product accurately.
1. Prepare the item and choose your setup
- Essentials: your existing iPhone, a clean soft lens cloth, window access, plain paper or fabric larger than the item, white reflector card and secure phone support.
- Optional purchases: a tripod and clamp, compatible remote, foam board, diffuser, gray card and continuous LED. A lint roller and steamer help prepare clothing.
Clean the lens, remove lint and dust, and wipe fingerprints from hardware. Steam or iron according to the care label. Arrange sleeves, straps and hems naturally without stretching them or hiding the item's shape.
| Item | Setup and alignment | Required details | Likely problem | Correction |
|---|---|---|---|---|
| T-shirt | Flat-lay; phone parallel | Front, back, hem, seams | Uneven sleeves | Rearrange naturally without stretching |
| Textured knit | Gently supported; phone parallel | Weave, cuffs, construction | Flattened texture | Adjust side lighting to reveal texture |
| Reflective accessory | Upright support; camera level | Clasp, finish, hardware | Reflections hide features | Move the light and reflector |
Mount an overhead phone securely; never balance it precariously above the product. If you plan to create on-model imagery later, our Virtual Try-On accepts flat garment or wearable photos. Show the whole item, including hems, sleeves and straps.
2. Build soft, repeatable lighting
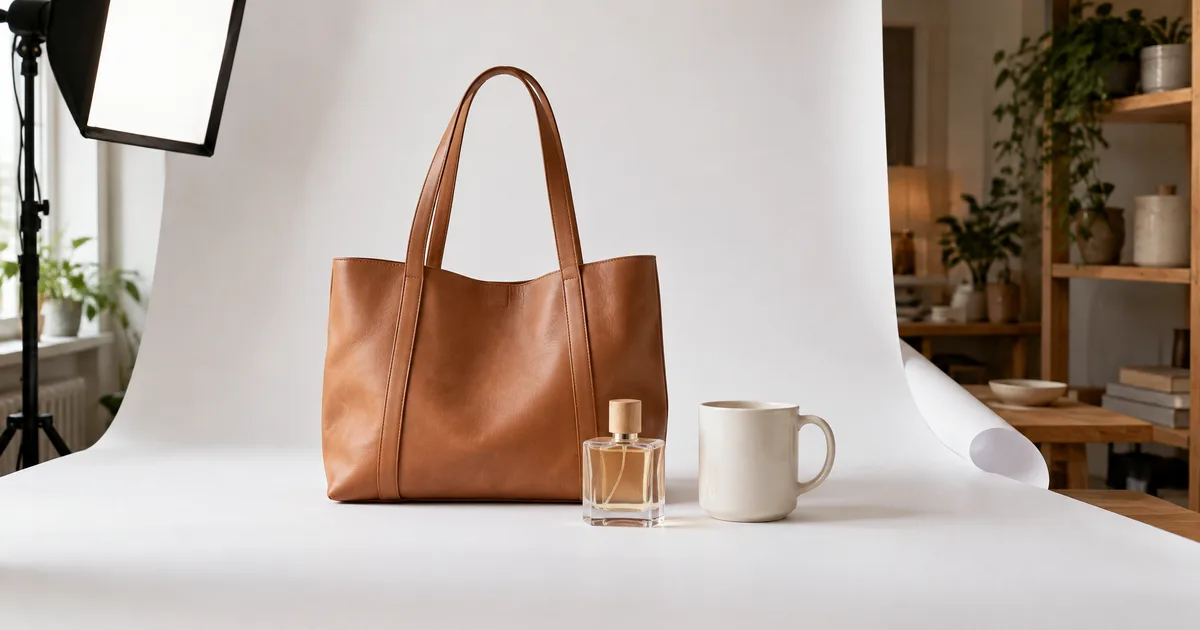
Window light and a white reflector
Position the item beside the window, with white card on the opposite side. Diffuse direct sun with a sheer curtain or suitable diffuser, and turn off room lights to avoid mixing light sources. As Nikon's white-balance guide explains, lighting affects apparent color.
Overhead layout: window → diffuser → item ← white reflector. Put the phone above a flat-lay, or facing an upright item.
For upright items, curve a single sheet of paper from the wall onto the table without a crease, as Canon's reflection-control guide recommends. Flat-lays need a smooth background large enough to avoid visible edges.
One diffused LED when daylight is unreliable
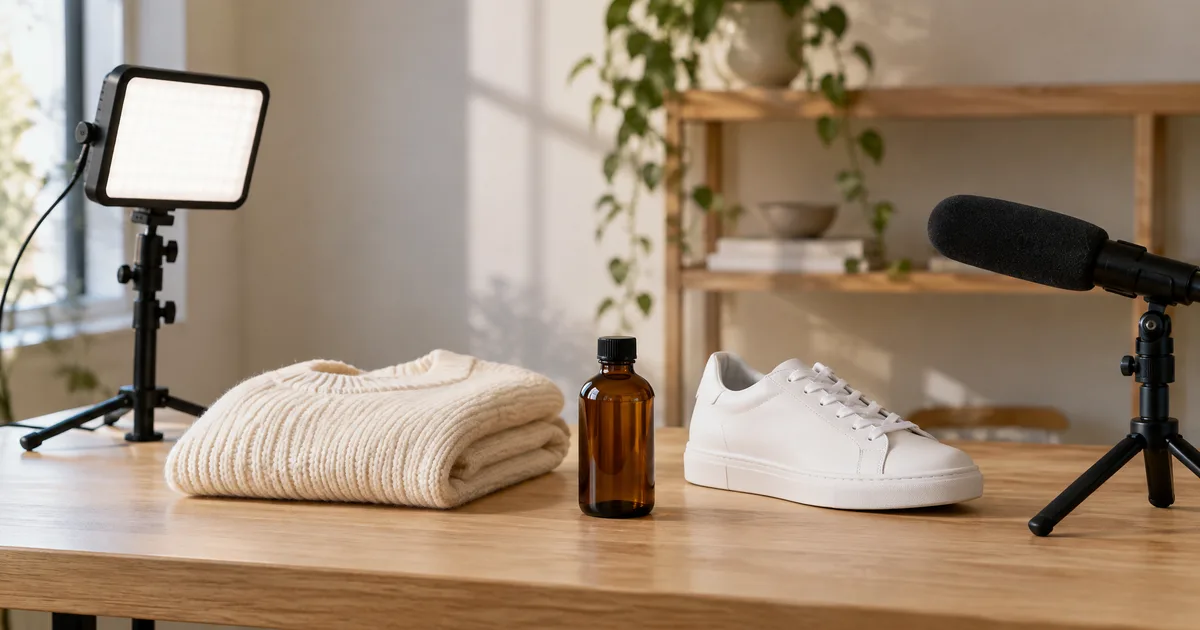
Use one diffused continuous LED beside the item, with white card opposite. Block daylight and turn off room lights to keep the lighting repeatable.
Overhead layout: diffused LED → item ← white reflector. Keep the camera outside the light path.
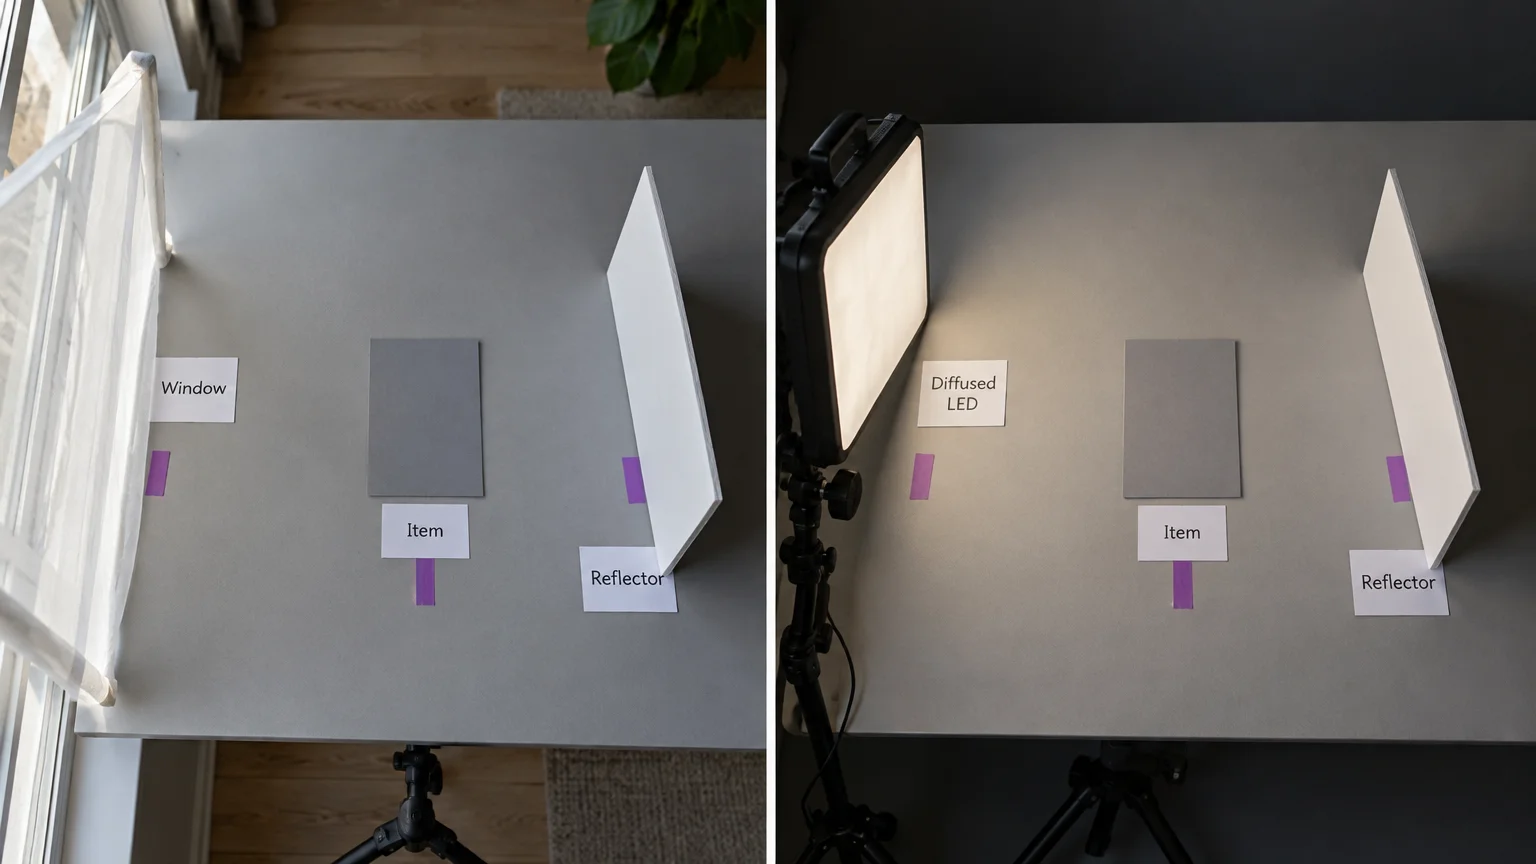
If buying equipment, look for:
- A daylight-balanced continuous LED with published color-rendering specifications and enough brightness and coverage for the garment.
- Compatible diffusion and a stable stand.
- White reflector card and an optional gray card for a color reference.
Keep diffusion clear of hot fixtures and follow mounting and clearance instructions. Mark the equipment and product positions, and recheck exposure and color if daylight changes. A gray-card reference under the same light helps you set white balance, as described in Canon's product-photography guide.
For white-on-white items, retain a gentle edge shadow so the product does not disappear into the background.
3. Set up your iPhone and frame the product accurately
Starting settings for iPhone product photography
Start in ordinary Photo mode to keep straps and garment edges natural. To capture JPEG files, choose Most Compatible, following Apple's format instructions.
Open the camera controls with the on-screen controls button, then tap the displayed aspect ratio or Timer to choose a setting.
| Control | Starting point | Menu or action | Reason | Model/iOS differences |
|---|---|---|---|---|
| Mode | Photo | Camera > Photo | Keep edges natural | Standard Camera app |
| Camera view | 1x | Tap 1x | Reliable starting view | Other views depend on model |
| Focus | AE/AF Lock | Touch and hold the product until AE/AF Lock appears | Fix focus and exposure | Camera Control not required |
| Exposure | Preserve fabric detail | After locking, drag the sun control down to darken or up to brighten | Protect light and dark texture | Screen controls vary |
| Grid | On | Settings > Camera > Grid | Align garment edges | Menu location may vary |
| Level | On | Settings > Camera > Level | Help align the phone | Where available |
| Aspect ratio | 4:3 | Open Camera controls > displayed ratio > 4:3 | Flexible later crops | Control location varies |
| Timer | 3 seconds | Open Camera controls > Timer > 3s | Reduce shutter shake | Control location varies |
| Filters/styles | Off or Standard | Camera filters/style controls | Preserve product color | Styles vary by model |
| Flash | Off | Camera flash control | Avoid glare | Icon location varies |
| Format | JPEG | Settings > Camera > Formats > Most Compatible | Simple uploads | ProRAW requires a supported model |
Lower exposure if white fabric loses weave or seam detail. Raise it cautiously if black fabric is unreadable, stopping before highlights or shiny hardware lose detail. Do not brighten a gray backdrop at the expense of the product; fix the background later.
Choose distance before zoom
Keep the phone centered and parallel to a flat-lay. Move farther away until the whole item fits with room for cropping, then mark the phone and product positions. A tilted, close view changes proportions, and a square crop cannot repair that perspective.
Use 2x when available, light is adequate and greater working distance helps framing. It does not always use a separate optical lens, so inspect sharpness. Capture 4:3, then crop square or 16:9 only as needed.
Macro is useful for texture and hardware. Apple's macro guide says supported phones can switch automatically to Ultra Wide as close as 2 centimeters. Enable Settings > Camera > Macro Control where available and use the flower indicator to manage switching. Move back if the camera struggles to focus or the phone casts a shadow on the item.
Use the timer with secure support, or a remote compatible with your phone and camera app.
4. Capture a complete clothing and accessory shot list
Capture the complete product before moving closer for details. Keep front and back framing consistent, and reset focus whenever you change distance.
| View | Buyer question | Include |
|---|---|---|
| Front or hero | What am I buying? | Whole item with crop margins |
| Back | What is hidden from the front? | Rear construction, pockets, print |
| Side or three-quarter | What shape and depth does it have? | Profile, gussets, accessory depth |
| Texture and stitching | What does the material look like? | Weave, seams, edge finishing |
| Labels | What product information is available? | Readable care and composition information |
| Hardware | How does it fasten? | Buttons, zippers, clasps, settings |
| Scale reference | How large is it? | Truthful reference or clear measurements |
| Genuine on-body or in-use | How does it look in use? | Real wear, with the person's permission |
For small accessories, capture both the full object and macro details. Keep genuine on-body photographs separate from generated imagery, and delete obvious misses after each item.
5. Inspect the images before moving anything
Zoom in on weave, labels and hardware, then compare product color with the real item under the same light. Do this while the setup is still in place so you can reshoot if needed.
- Check sharpness, white highlights and detail in black fabric.
- Confirm that all edges are visible and there is enough room for destination crops.
- Compare front and back scale, sleeve placement, straps and hems.
| Decision | What you see | Action |
|---|---|---|
| Publish | Sharp, complete, faithful image | Export to the destination's requirements |
| Edit | Small exposure differences, crop inconsistency, background distractions | Correct without changing product information |
| Reshoot | Blur, clipped texture, missing edges, severe color casts, misleading proportions, obscuring reflections | Fix the shot; do not invent missing detail |
If colors change between shots, check for shifting daylight, mixed room lights, exposure changes and automatic color adjustments before applying a batch correction.
Avoid brightening until white fabric disappears, using digital zoom instead of repositioning, heavy sharpening and color-changing filters. Background editing cannot make an inaccurate source photo reliable.
6. Edit, export and optionally create on-model imagery
Finish the factual listing images
Keep the original and edit a copy. Make modest exposure and white-balance corrections, apply consistent crops, then remove background distractions without erasing straps, fringe or translucent edges.
High Efficiency captures HEIF; Most Compatible creates new JPEG photos but does not convert existing files. Verify the exported file's format and size before uploading.
ProRAW is optional on supported phones. Apple's ProRAW guide describes its extra flexibility for editing exposure, color and white balance; it is not required for listings.
- Match the destination's published dimensions, aspect ratio, format and maximum file size.
- Retain sufficient resolution and inspect the export for blocky compression, halos and color shifts.
- Compare crops and color across the set, including front and back.
For detailed cleanup, see white background product photography.
Create optional on-model creative
- Export a complete garment photo as JPG, PNG or WebP. Our Virtual Try-On accepts these formats up to 10 MB each.
- Upload it, select a library model or upload your own, choose resolution and generate.
- Compare the result with the original: color, weave, print placement, logos, seams, buttons, hems and proportions must remain faithful.
Our Remove Background tool accepts JPG, PNG or WebP up to 20 MB and offers transparent PNG or white-background output.
Keep the files distinct: source photo → listing edit → optional generated image. Preserve the original throughout.
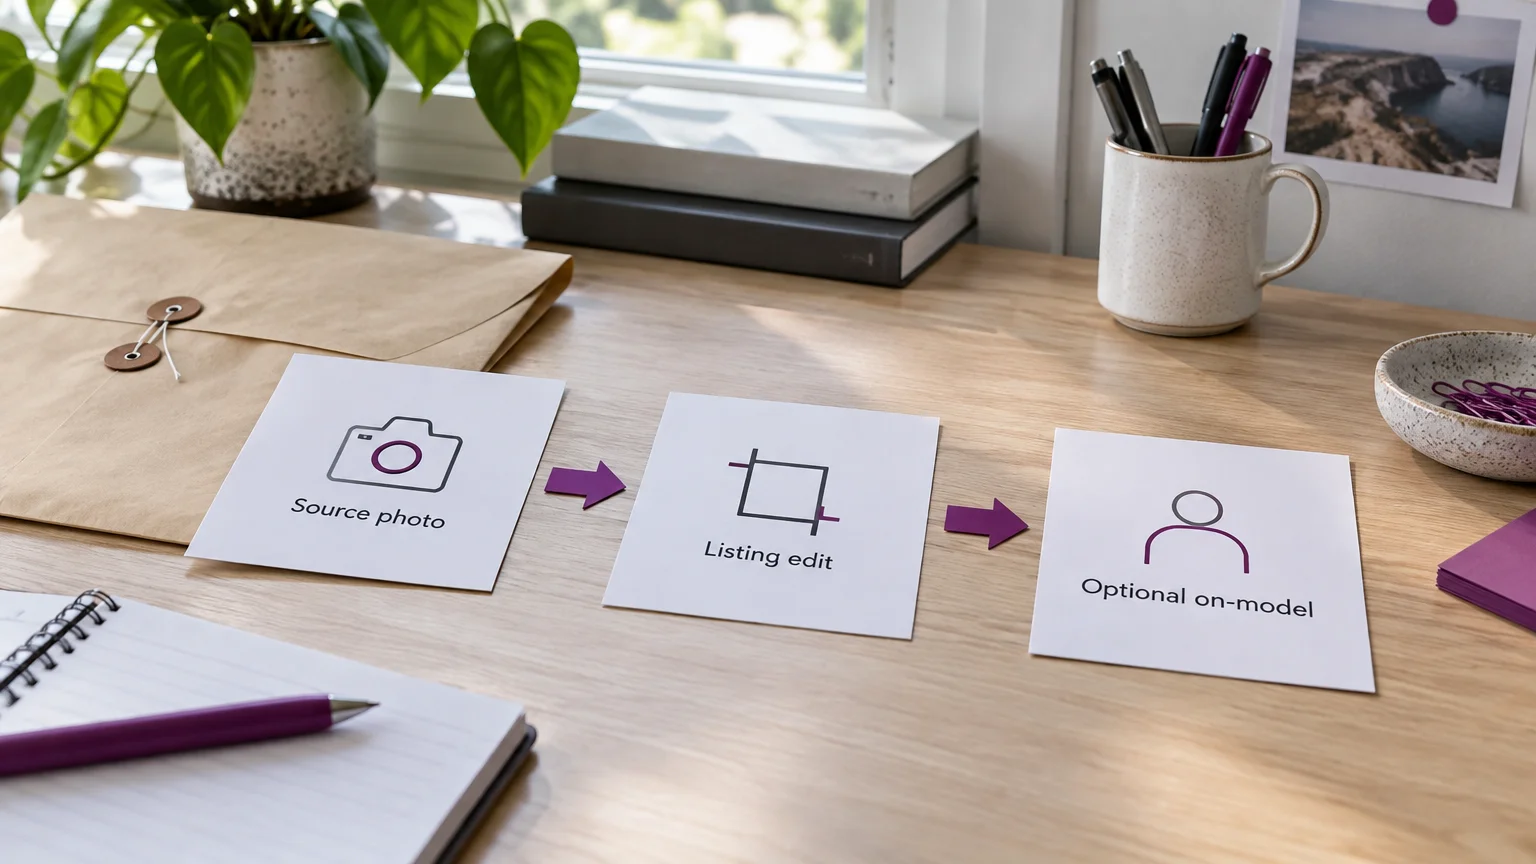
Generated on-model imagery supplements genuine detail photos; it does not verify real fit. Label it clearly and preserve AI-origin metadata. Google Merchant Center's image rules require that metadata, and its AI label settings support disclosure.
7. Repeat the setup or bring in a professional
Hire a product photographer when reflections or transparent materials still hide detail, exact color is critical, or you need controlled styling, genuine fit evidence or specialized multi-angle capture.
For each item, repeat the same preparation, soft light, camera alignment, locked exposure, shot list and export checks. Apply consistent corrections when batch editing product images, while checking each item's color.
Accurate source photos come first. When yours are ready, create optional on-model imagery with our Virtual Try-On.