
Table of Contents
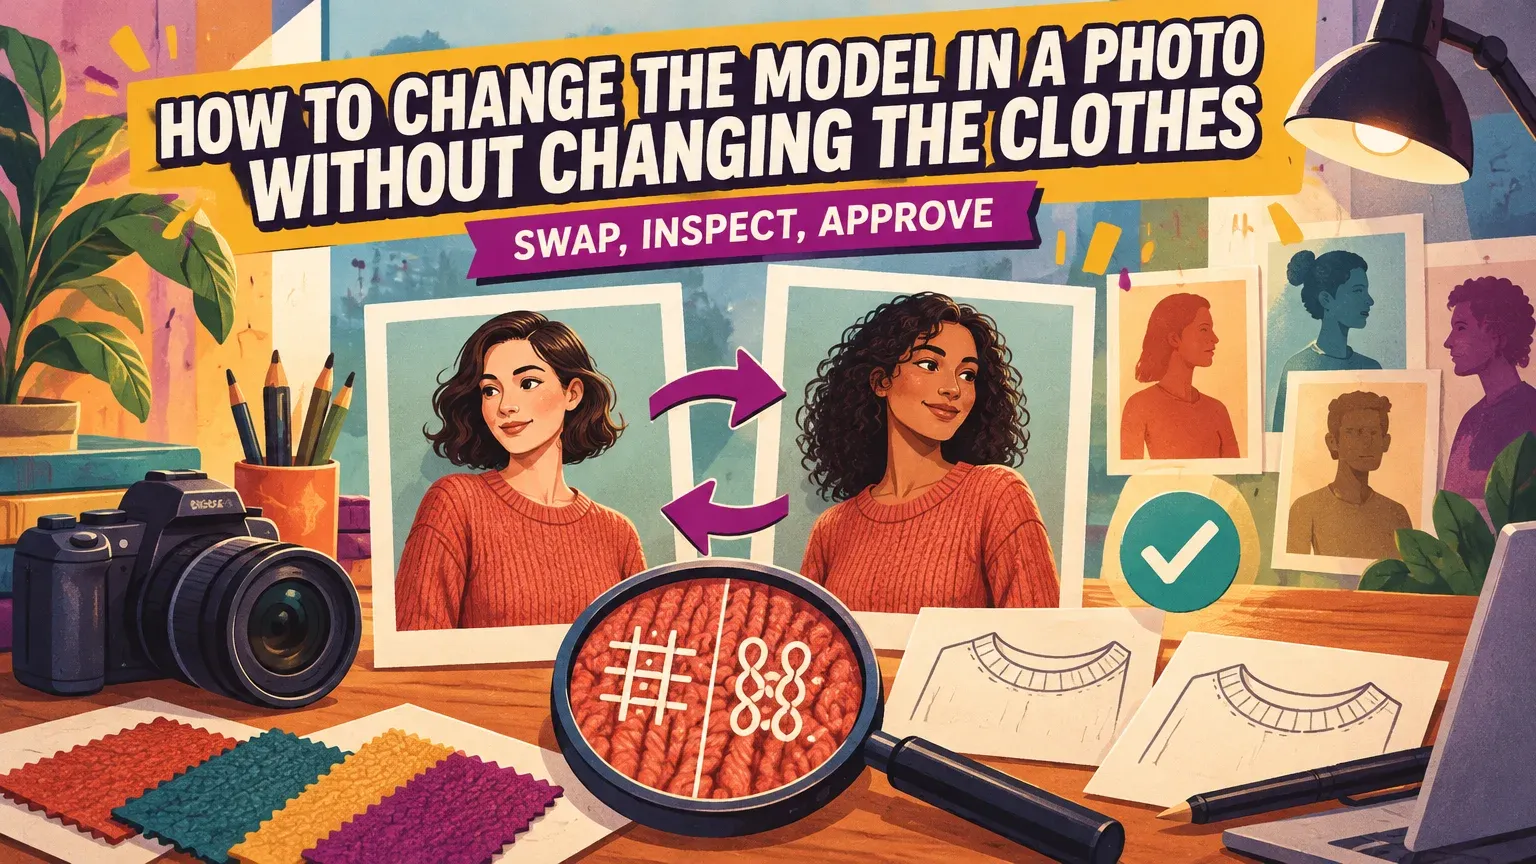
To change the model in a photo without changing the clothes, use our Model Swap workflow on an approved on-model photograph. Describe the replacement identity or supply a face reference, then compare the result against the original before exporting. You need permission to use the images, basic uploading and prompting skills, and careful visual comparison. Allow time for preparation, generation, garment inspection, any repairs and export.
How can I change the model in a fashion photo without changing the garment, pose or lighting?
Use a targeted model swap to change the model's visible identity while retaining the garment, pose, lighting and background. Request only the identity change and keep the original as your comparison master.
Choose the editing method that matches what you want to change:
| Your goal | Method | Important boundary |
|---|---|---|
| Replace the broader visible identity | Model swap | Verify exposed skin, hair and garment boundaries. |
| Replace only facial identity | Face swap | The existing body and other exposed skin remain. |
| Put a supplied garment on a person | Virtual try-on | The clothing changes rather than the identity. |
| Create a new scene | Whole-image generation | Existing photographic details may change. |
| Change a controlled region | Selection-based editing or compositing | Masks and boundaries need attention. |
Face-only replacement can leave mismatched skin on the neck or hands when the intended identity differs substantially. Virtual try-on aims to preserve the person's identity and pose while changing the garment, according to virtual try-on research.
1. Choose and retain the approved source
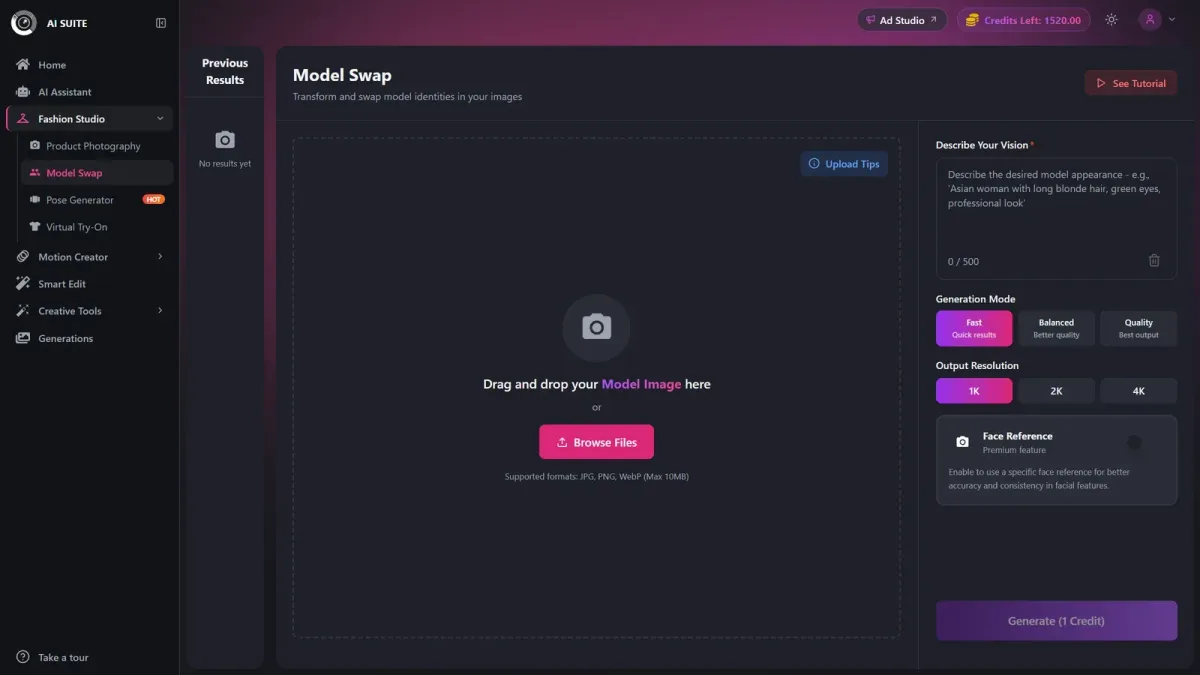
Choose a sharp, well-lit on-model photograph whose clothing, fit, pose, framing and background already match the intended result. Upload this approved image.
- Keep an untouched original separate from generated candidates.
- Flag difficult areas: hair over collars, hands crossing fabric, layered clothing and small lettering.
- Avoid requesting body-size changes when the original silhouette and garment fit must remain accurate.
2. Describe the model or add a Face Reference
Describe the replacement person's apparent age range, hair, skin tone and overall look. Keep the instruction focused on the replacement identity.
Example prompt: Replace the model with an adult woman with short dark hair. Keep the photographed outfit, garment details, pose, framing, background and lighting unchanged.
Keep prompts under about 500 characters. Our paid-only Face Reference accepts an uploaded face photo, makes the prompt optional and costs nothing extra. Use a clear reference you have permission to use, with a compatible face angle and lighting. Enter an identity prompt, upload a Face Reference, or use both.
3. Choose the resolution, check credits and generate
Choose a resolution available in your account that suits where you will publish the image, then check the exact charge on the Generate button. Higher resolution does not replace checking product accuracy.
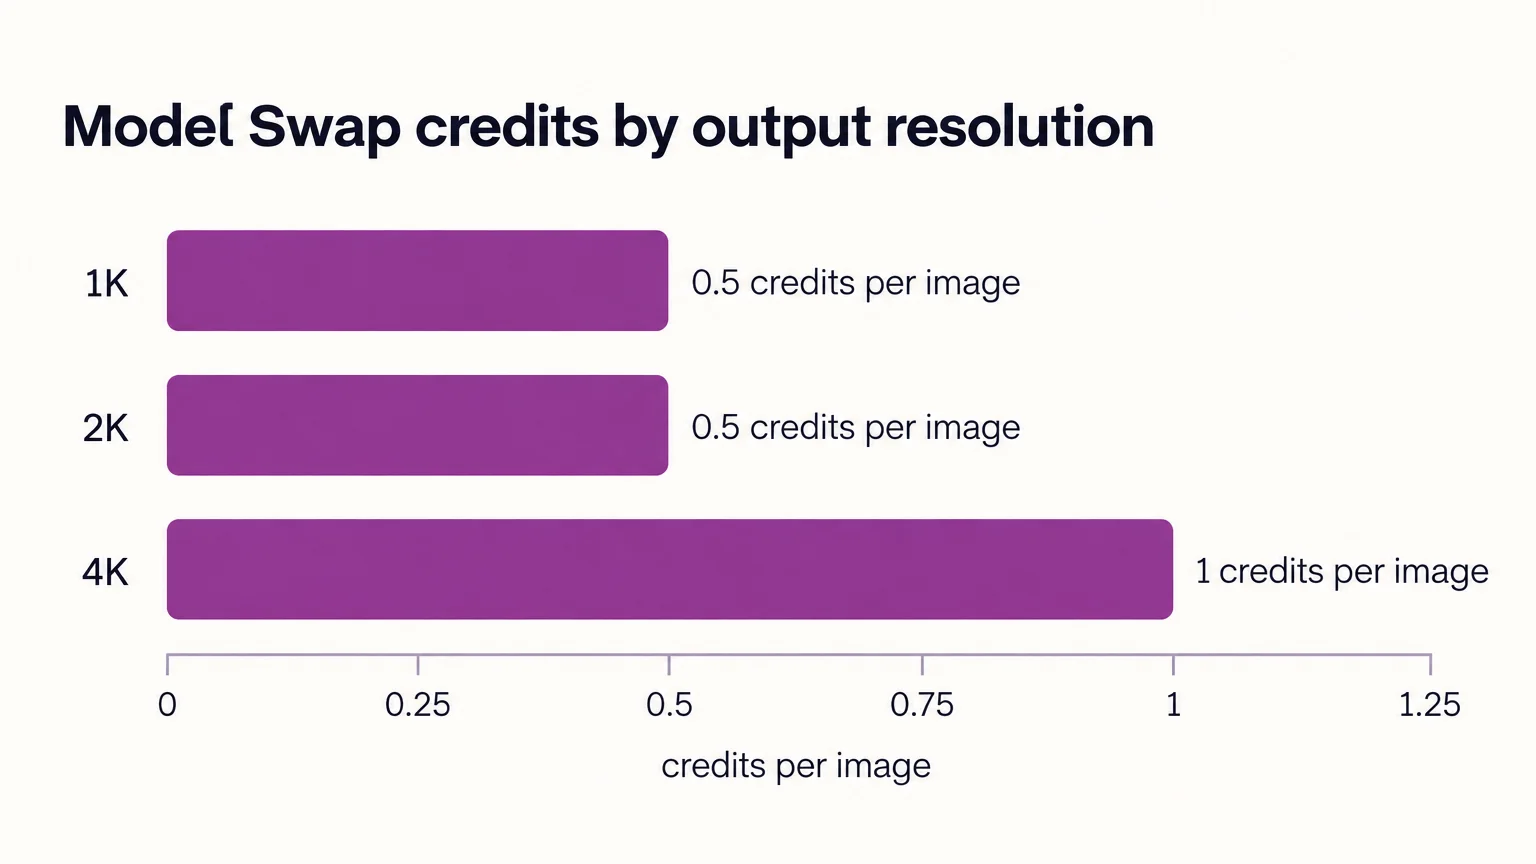
| Setting | Supported value | What to do |
|---|---|---|
| Source upload | JPG, PNG or WebP; up to 10 MB each | Upload the approved on-model photograph. |
| Identity instruction | Prompt required unless Face Reference is enabled | Keep the requested change narrow. |
| Face reference | Paid access; no additional reference charge | Use an authorized face photo. |
| 1K output | 0.5 credits per image | Check suitability for the intended placement. |
| 2K output | 0.5 credits per image | Check suitability for the intended placement. |
| 4K output | 1 credit per image | Use when the destination needs this resolution. |
| Final charge | Displayed on Generate | Confirm before generating. |
Generate a candidate, then open the completed result for inspection. Keep it labelled as unapproved until it passes the checks below.
4. Compare the result against the source before accepting it
Accept a model swap only when the replacement identity and every product-critical detail pass comparison. A preservation instruction sets the goal; comparing the result with the source determines whether it is accurate enough to publish.
View the source and result side by side at equal magnification, checking both close details and the whole frame. In Photoshop, use Adobe's Match Zoom command to synchronize magnification.
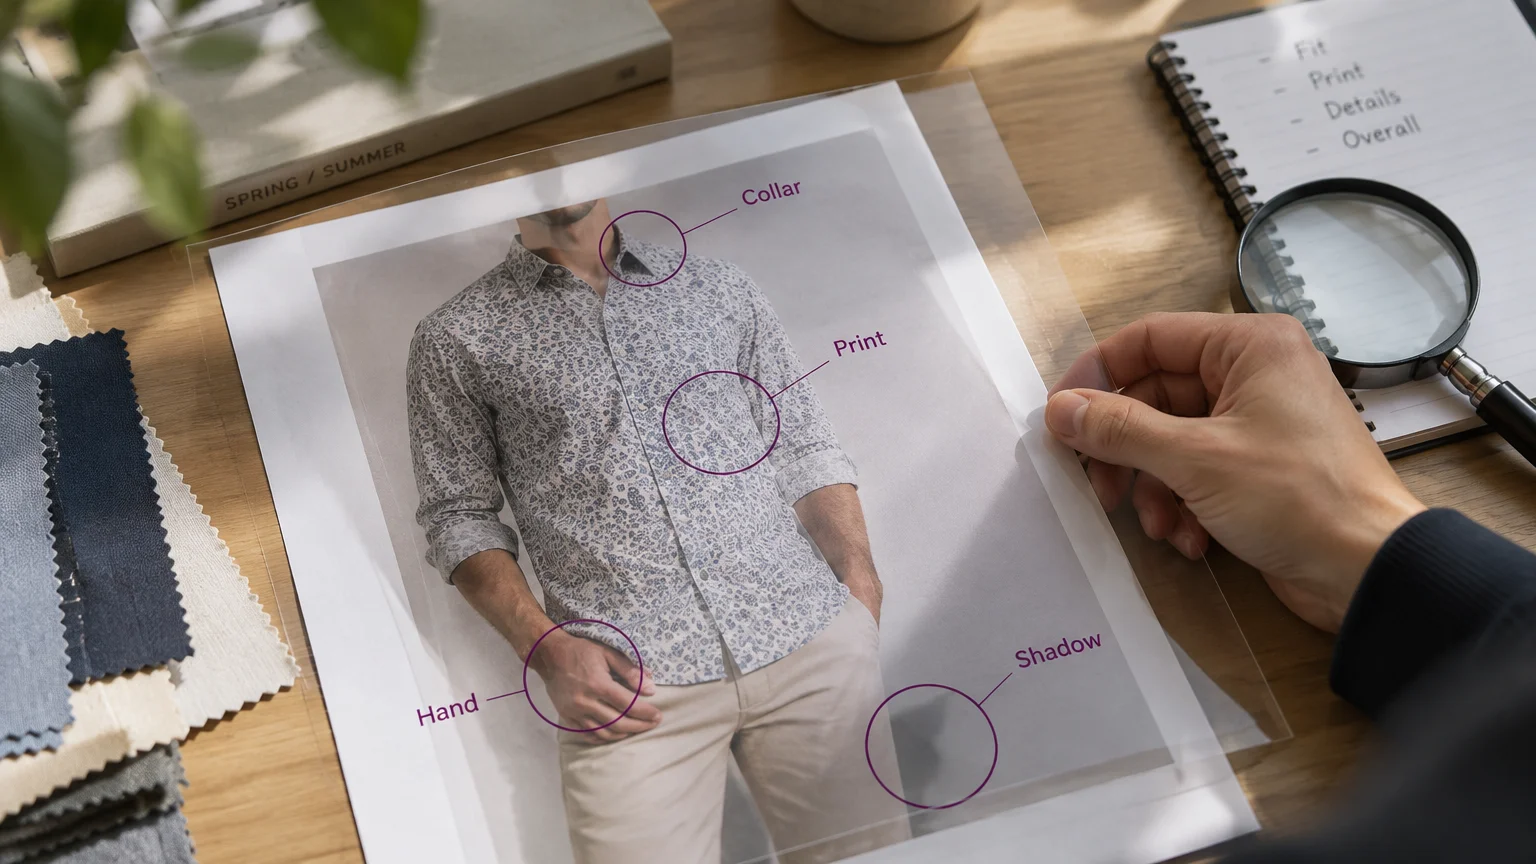
| Inspection area | Compare against the source | Decision |
|---|---|---|
| Garment construction | Collar shape, seam paths, buttons, fastenings and hems | Reject changed construction. |
| Prints and branding | Motif placement, repeats, logos and every letter | Reject altered graphics or text. |
| Fabric and fit | Texture, weave, folds, silhouette, sleeve volume and garment length | Reject changes that misrepresent the product. |
| Anatomy and boundaries | Fingers, necklines, hair overlap, hand contact and skin-to-fabric edges | Consider a local correction only away from product detail. |
| Pose and framing | Shoulders, elbows, hands, feet, body orientation, crop and perspective | Reject unintended movement or reframing. |
| Lighting and shadows | Light direction, highlights, contact shadows and background shadows | Accept only if the scene remains coherent. |
Pay particular attention to hair, hands and clothing boundaries. AI-generated edits can reinterpret these details even when the prompt requests only a new identity.
Check shadows beneath hands and feet as well as the garment's highlights. Adobe's compositing guidance recommends matching light direction across the elements of a composite.
5. Repair one isolated issue, rerun or use compositing
Try one narrowly scoped correction for a small identity or skin-boundary defect; reject or rerun outputs with altered product details. In our Smart Edit, upload one or more images and enter a text instruction. The default is GPT Image 2, and the live credit cost appears before generation.
- Isolated non-product defect: attempt one correction, then repeat the full comparison.
- Changed logo, seam, texture or silhouette: reject the candidate and return to the source.
- Original garment pixels must remain untouched: use controlled masking and compositing, with professional retouching when needed.
Example: correcting an isolated wrist issue
If the candidate passes every garment check but has uneven skin tone on an exposed wrist, request: Correct only the uneven skin tone on the exposed wrist; keep the sleeve edge, fabric, hand pose and background unchanged.
Compare the corrected image against the source again, including areas outside the wrist. Accept the correction only if the wrist improves and all other checks still pass. Otherwise, reject it.
Use a selection in Adobe Photoshop to define the edit area, then use Adobe's layer masks to hide or reveal layer regions. Refine hair edges after automatic masking.
Avoid broad beautification prompts, simultaneous pose changes and repeated repairs. Choose a new photograph when the requested body shape, pose or overlap would require revealing previously hidden garment details.
6. Reuse the identity, check permissions and export approved images
Reuse the same authorized face reference and core identity instruction across catalogue images, but apply the full acceptance checklist to every result.
Keep each source, prompt or reference, candidate and approved export together. Before publishing, check source-photo rights, permission from the person in the reference and the original model release's scope for the intended commercial use. Requirements vary by country. The ICC's marketing guidance says to respect the scope of likeness consent. Do not imply an unauthorized endorsement.
Download only approved images, then confirm the exported crop and resolution. For broader terminology, see our AI model swap explainer.
When your source and reference are ready, start your model-swap workflow.